There is something inherently magical about the architecture of chocolate chip cookie cups. While a standard cookie is a two-dimensional treat, these deep-dish delights transform the classic buttery dough into a vessel for pure indulgence. Imagine biting through a crisp, caramelized outer edge into a soft, chewy crumb that gives way to a pool of warm, glossy dark chocolate ganache.
Every element of these chocolate chip cookie cups has been engineered for maximum sensory impact. The visual contrast between the golden-brown baked dough and the glistening dark chocolate reflects a professional bakery aesthetic that you can achieve in your own kitchen. Whether you are serving these at a dinner party or enjoying a warm one on a quiet afternoon, the balance of textures is unmatched.
In this guide, we will walk through the forensic culinary details required to master the perfect cup shape. From the precise temperature of your butter to the emulsification of the ganache, every step ensures a result that looks exactly like a high-end food photography spread. Let’s dive into the science of the perfect bake.
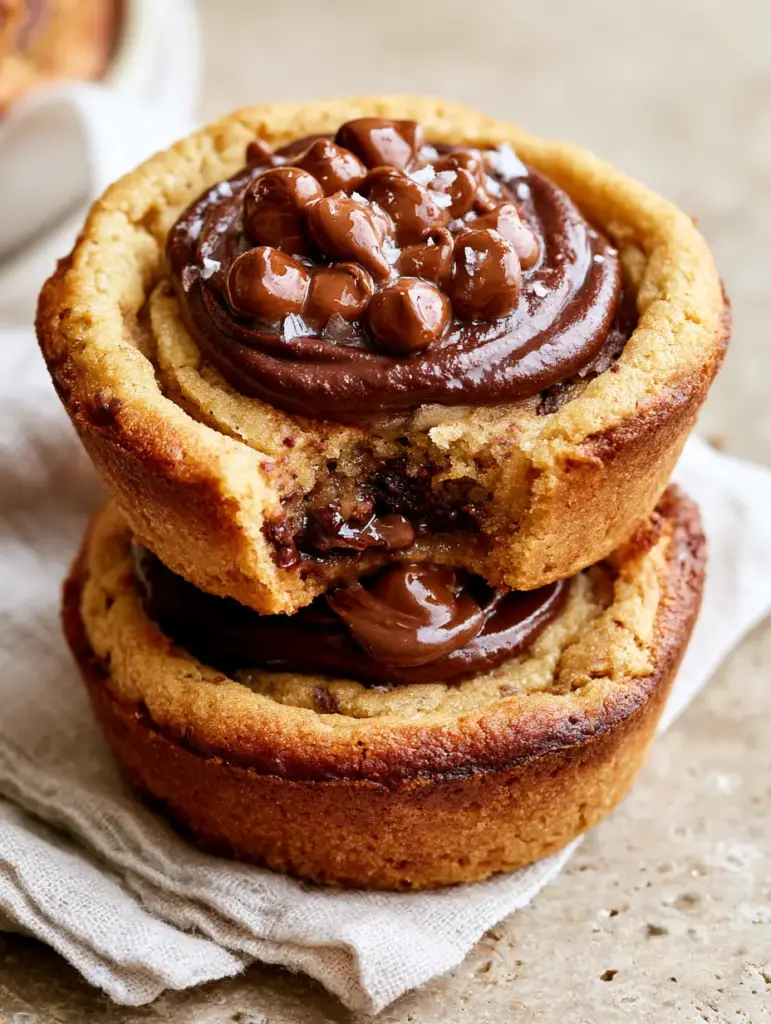
Why These Deep-Dish Cookie Cups Are a Game Changer
- Structural Perfection: The deep-dish muffin tin shape creates a sturdy, caramelized wall that holds a generous amount of filling without collapsing.
- Textural Contrast: You get three distinct textures in one bite: the crisp exterior, the slightly underbaked chewy center, and the silky, flowing ganache.
- Balanced Flavor Profile: The addition of a flaky sea salt garnish cuts through the richness of the semi-sweet and dark chocolates, highlighting the buttery notes of the dough.
- Visual Appeal: The glossy finish of the ganache paired with a cluster of glistening chocolate chips makes these the centerpiece of any dessert table.
The Anatomy of a Perfect Chocolate Chip Cookie Cup
To achieve the specific visual of golden-brown edges and a soft crumb, we must choose our ingredients with scientific intent. This isn’t just a standard dough; it is a reinforced formula designed to climb the walls of a muffin tin and stay there.
All-Purpose Flour: 2 ¼ cups (280g). Flour provides the scaffolding. We use a precise weight to ensure the cups aren’t too cakey or too brittle, maintaining that essential soft chewy cookie crumb.
Unsalted Butter: 1 cup (225g), softened. Butter is the vehicle for flavor and the catalyst for those caramelized edges. As the water in the butter evaporates, it creates steam that helps the dough expand slightly before setting.
Brown Sugar: ¾ cup (150g), packed. The molasses in brown sugar is hygroscopic, meaning it pulls in moisture to ensure the centers remain soft and chewy even after cooling.
Granulated Sugar: ½ cup (100g). White sugar is responsible for the Maillard reaction. This is what gives us the professional, golden-brown baked cookie dough appearance described in the visual blueprint.
Semi-Sweet Chocolate Chips: 1 ½ cups (255g). These are folded into the dough and used as a glistening topper. They provide a structural “snap” that contrasts with the liquid ganache.
Dark Chocolate (60% Cacao or higher): 4 oz (115g), finely chopped. This forms the base of our glossy dark chocolate ganache filling. The higher fat content ensures a professional sheen.
Heavy Cream: ½ cup (120ml). When heated and poured over the dark chocolate, it creates a stable emulsion that stays glossy and smooth at room temperature.
Flaky Sea Salt: 1 tsp (5g), for garnish. These large salt crystals provide the “glistening” effect mentioned in the prompt while balancing the sugar levels.
Invisible Essentials: You will also need 1 large egg, 1 tsp (5ml) vanilla extract, ½ tsp (3g) baking soda, and ½ tsp (3g) kosher salt to facilitate rising and flavor depth. If you’re looking for other textures, you might enjoy the crunch found in rice krispie chocolate chip cookies.
Essential Equipment for Bakery-Quality Results
To replicate the professional food photography shot, you cannot rely on a standard baking sheet. You need a standard 12-cup muffin tin. The high walls of the tin are what force the dough into that iconic cup shape, allowing the edges to caramelize against the metal while the center stays protected and soft.
A small offset spatula is also highly recommended. This tool allows you to smooth the ganache into a perfect swirl, just like the one seen in the visual prompt. Finally, a cooling rack is essential to prevent the bottoms from becoming soggy as they cool.
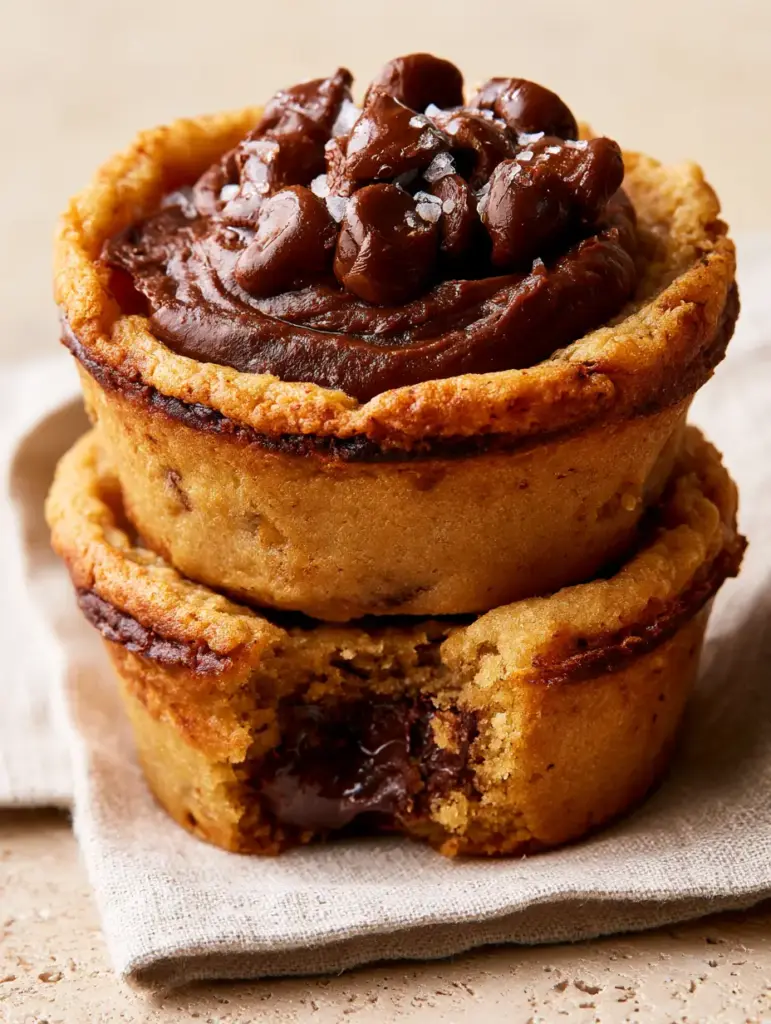
Step-by-Step Evolution of the Cookie Cup
Phase 1: Engineering the Dough
Start by creaming your softened butter with both sugars for at least 3 minutes. You are looking for a pale, aerated texture. This air incorporation is what allows the chocolate chip cookie cups to rise up the sides of the tin without becoming dense.
Add the egg and vanilla, mixing until fully incorporated. In a separate bowl, whisk your flour, baking soda, and kosher salt. Slowly add the dry ingredients to the wet, mixing only until a few streaks of flour remain. Fold in 1 cup (170g) of the semi-sweet chocolate chips by hand.
Phase 2: Shaping and the First Bake
Generously grease your muffin tin. Scoop approximately 3 tablespoons (about 45g) of dough into each well. Use your thumb or the back of a small spoon to press the dough into the bottom and halfway up the sides of each cup.
Chill the prepared tin in the freezer for 15 minutes before baking. This step is crucial; it prevents the butter from melting too quickly, ensuring the “deep-dish” shape is preserved. If you like this method of shaping dough, you might also like apple pie cupcakes for a fruitier version.
Phase 3: Achieving the Golden-Brown Visual Cues
Bake at 350°F (175°C) for 12-15 minutes. Watch for the sensory cues: the edges should be a deep, caramelized golden-brown, while the center should still look slightly pale and underbaked. This is the secret to that “soft, buttery, chewy center” revealed in the bite-taken-out visual.
Immediately after removing from the oven, use a small shot glass or the back of a measuring spoon to gently press down the centers again. This reinforces the “cup” shape while the dough is still hot and pliable.
Phase 4: Crafting the Glossy Ganache Filling
While the cups cool in the tin, place your chopped dark chocolate in a small heat-proof bowl. Heat the heavy cream until it just begins to simmer (do not boil). Pour the hot cream over the chocolate and let it sit undisturbed for 5 minutes.
Gently whisk from the center outward until a glossy, dark emulsion forms. This is your dark chocolate ganache filling. If the ganache looks grainy, add a teaspoon of warm cream and continue whisking gently until it regains its sheen.
Expert Tips for Success
- The Temperature Factor: Never fill warm cookie cups with ganache. Let the cups cool completely in the tin to set their structure, or the ganache will soak into the crumb and lose its glossy finish.
- The Perfect Swirl: Use a piping bag or a spoon to drop the ganache into the center. To get the “swirl” look from the prompt, tap the tin gently on the counter to level the chocolate, then use a toothpick to create a circular motion.
- Salt Timing: Add the flaky sea salt only after the ganache has slightly set (about 10 minutes after filling). If the ganache is too wet, the salt will dissolve and lose its glistening crystal appearance.
- Release Strategy: Run a thin knife around the caramelized edges before attempting to lift the cups out. The caramelization acts like a glue, and a quick swipe ensures they come out clean.
Serving and Pairing Suggestions
These chocolate chip cookie cups are incredibly rich, making them the perfect partner for a glass of cold milk or a strong espresso. If you are hosting a party, they pair beautifully with a variety of textures on a dessert board. Consider serving them alongside something savory-sweet like million dollar snack mix to cleanse the palate.
For a full “Texas Roadhouse” style experience at home, you could serve these as the grand finale after a meal of Texas roadhouse pork chops. The contrast between a savory, smoky dinner and this ultra-sweet, chocolate-heavy dessert is a classic crowd-pleaser.
Frequently Asked Questions
Absolutely. You can freeze the baked shells for up to 3 months. For best results, add the fresh ganache filling after thawing to maintain the glossy appearance.
Yes, but store-bought dough may spread more. You may need to add a tablespoon of flour to the dough to give it enough structure to hold the cup shape.
The gloss comes from the fat content in the heavy cream and high-quality dark chocolate. Avoid over-stirring, which can introduce air bubbles and dull the finish.
Generously grease each well with butter or non-stick spray, and ensure the cups are fully cooled before using a thin knife to gently release the caramelized edges.
Actually, sinking in the middle is good! We want that deep-dish cavity. If they rise too much, simply press the center down with a spoon immediately after baking while they are still soft.
The Ultimate Chocolate Chip Cookie Cup Recipe
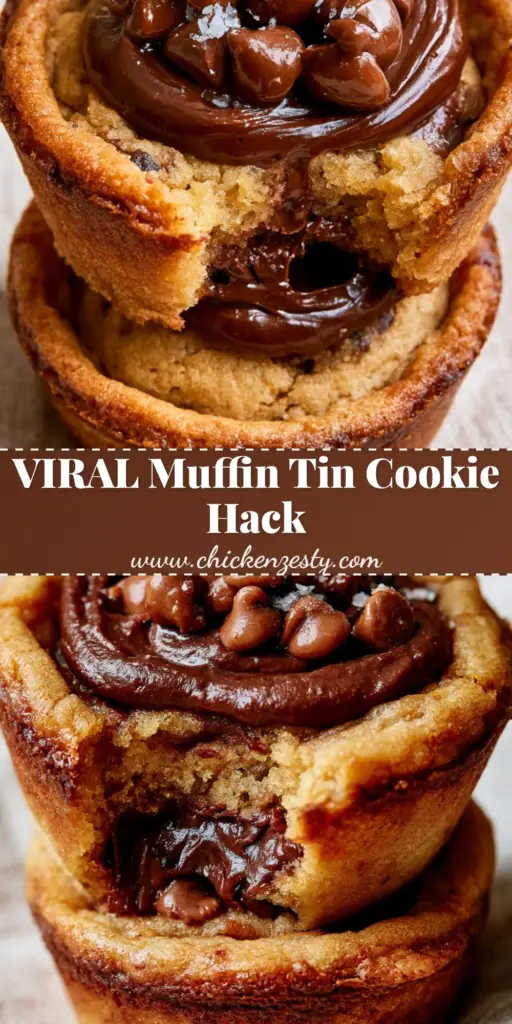
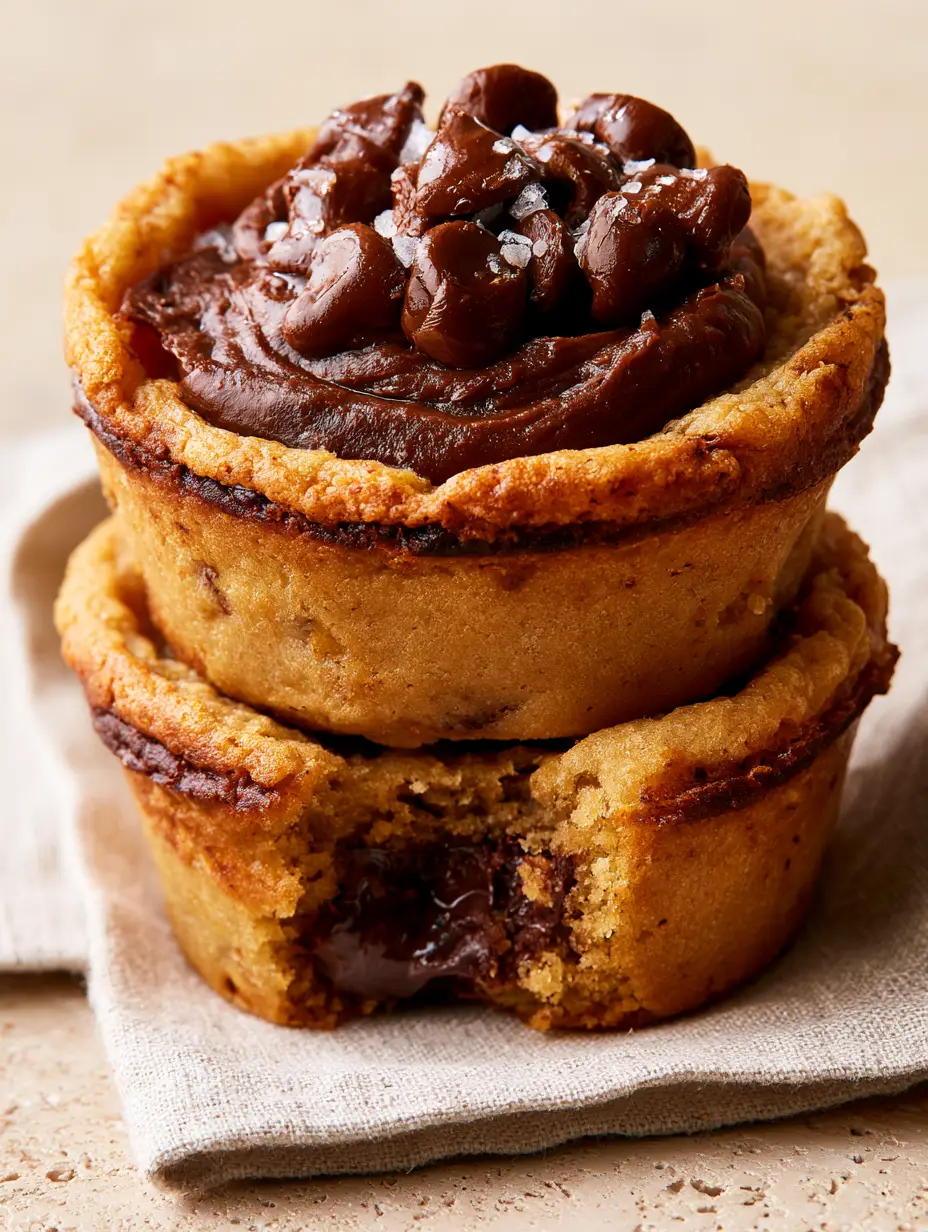
Chocolate Chip Cookie Cups with Glossy Dark Chocolate Ganache and Flaky Sea Salt
Ingredients
Equipment
Method
- Cream softened butter with brown sugar and granulated sugar until light and fluffy, about 3 minutes. Mix in the egg and vanilla.
- Gradually add flour, baking soda, and kosher salt. Fold in 1 cup of chocolate chips until just combined.
- Press 3 tbsp of dough into each greased muffin tin well, pushing up the sides to form a cup. Freeze for 15 minutes.
- Bake at 350°F (175°C) for 12-15 minutes until edges are golden-brown and caramelized. Press centers down with a spoon immediately after baking.
- Pour heated heavy cream over chopped dark chocolate. Let sit for 5 minutes, then whisk until glossy. Spoon into cooled cookie cups.
- Top with remaining chocolate chips and a sprinkle of flaky sea salt. Allow to set before serving.
Notes
Chill the dough in the tin to ensure the cup shape remains defined during baking.
Final Thoughts: Master the Deep-Dish Cookie
The beauty of the chocolate chip cookie cups lies in the intersection of careful engineering and indulgent ingredients. By focusing on the Maillard reaction for those caramelized edges and the emulsification of the ganache, you create a dessert that is as much a work of art as it is a treat. The visual confirmation of the melted chips and the soft crumb is your reward for a job well done.
We would love to see your creations! Share your photos and tag us, or leave a comment below with your favorite filling variations. Don’t forget to save this recipe to your Desserts board on Pinterest for your next baking session!