There is a specific kind of magic that happens when golden-brown, puffed dough meets the irresistible stretch of molten cheese. This Cheesy Bombs recipe isn’t just an appetizer; it is a sensory experience designed to be the centerpiece of your next gathering.
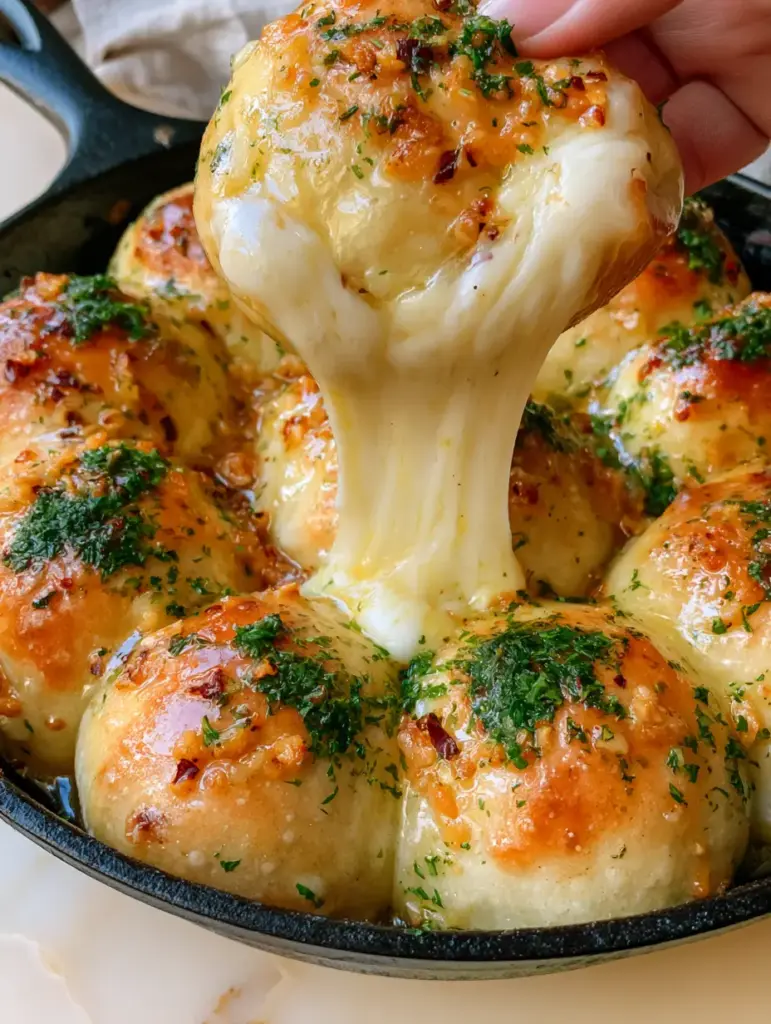
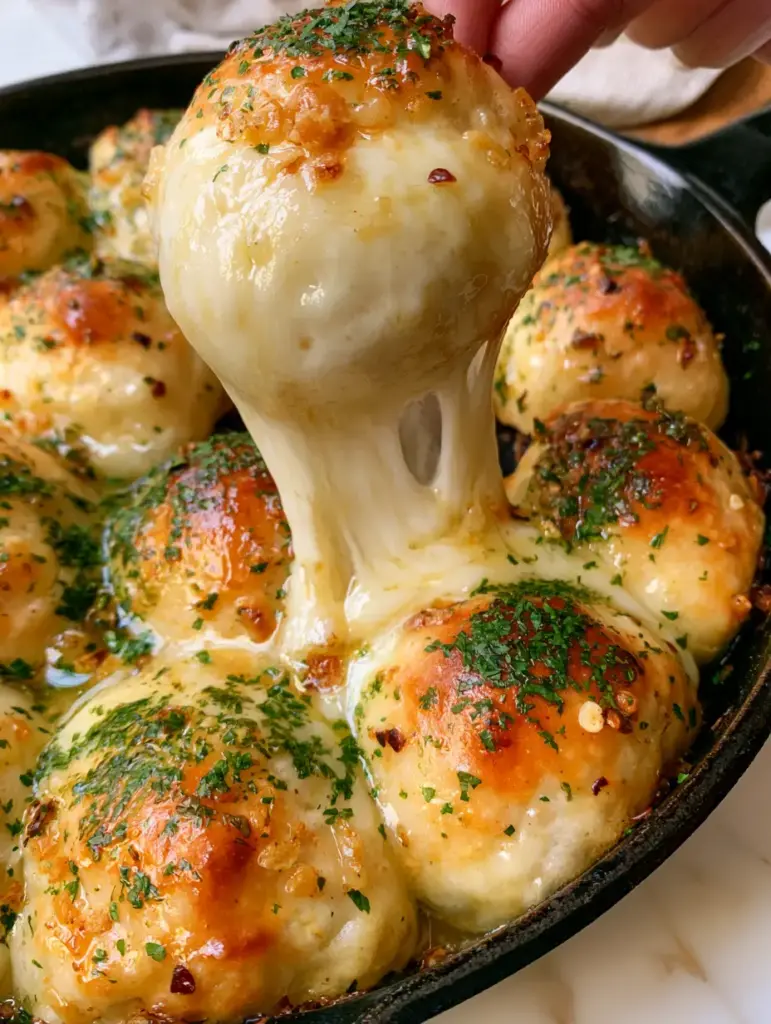
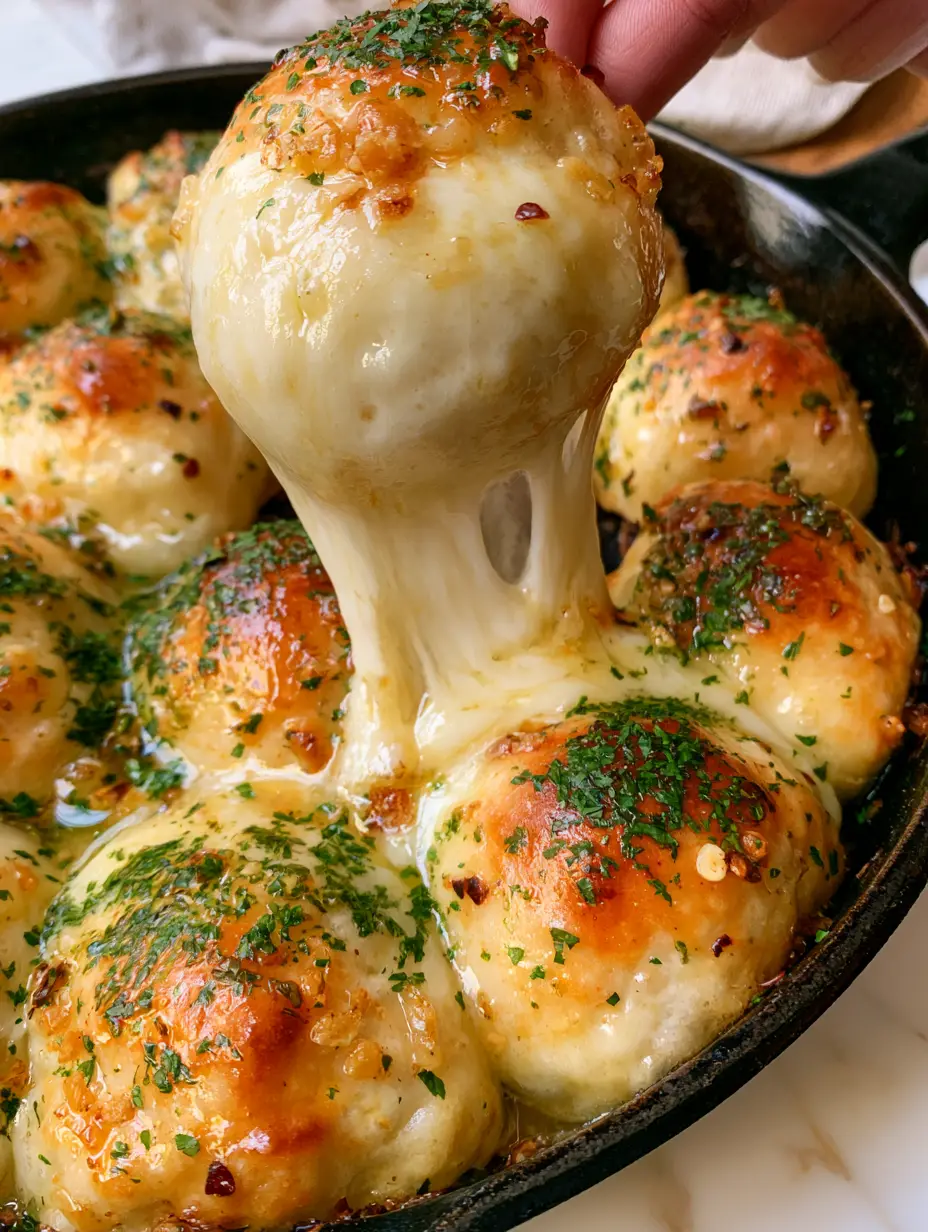
Imagine pulling back a soft, buttery roll and being greeted by a massive, thick, stretchy bridge of melted white mozzarella cheese. The crust is satiny and shimmering with a garlic-infused glaze, accented by the crunch of roasted garlic bits and a vibrant dusting of fresh parsley.
Baked to perfection in a seasoned cast iron skillet, these dough balls develop a micro-bubbled crust that provides the perfect structural contrast to the gooey, elastic interior. Whether you are hosting a game day or looking for a decadent side dish, this recipe delivers professional results with home-kitchen ease.
Why This Garlic Butter Cheese Bomb Recipe Works
- The Ultimate Texture Contrast: By using a seasoned cast iron skillet, we achieve a crisp, bottom crust while keeping the tops soft, airy, and shimmering with butter.
- Visual Masterpiece: The combination of vibrant emerald-green parsley and flecks of dried red pepper flakes creates a gourmet aesthetic that looks as good as it tastes.
- The Perfect Cheese Pull: We utilize high-moisture mozzarella techniques to ensure every single bite produces that iconic, elastic cheese bridge.
- Infused Flavor Profile: Instead of raw garlic, we use minced roasted garlic bits within the glaze to provide a mellow, nutty sweetness that permeates the dough.
Essential Ingredients for the Perfect Golden Crust
Refrigerated or Homemade Biscuit Dough: You will need 16 oz (454g) of high-quality biscuit dough. This provides the foundational “puffed” structure and the micro-bubbles in the crust seen in professional bakery results.
Low-Moisture Mozzarella Cheese: Use 6 oz (170g) of mozzarella, cut into 1-inch (2.5cm) cubes. Low-moisture mozzarella is the secret to a thick, stretchy cheese pull that doesn’t make the dough soggy.
Salted Butter: 1/2 cup (113g) of melted butter serves as the base for our shimmering glaze. Butter provides the satiny sheen and essential fat for the Maillard reaction to occur on the dough’s surface.
Fresh Garlic: 4 cloves (approx. 20g), finely minced. We will briefly sauté these in the butter to create “golden fried minced garlic” bits that offer a savory crunch.
Fresh Flat-Leaf Parsley: 2 tbsp (8g), finely chopped. This adds a vibrant emerald-green color and a hit of earthy freshness that cuts through the richness of the cheese and butter.
Dried Red Pepper Flakes: 1 tsp (2g) of chili flakes. These occasional flecks provide a subtle background heat and visual contrast against the golden-brown rolls.
Foundational Seasoning: 1/2 tsp (3g) of garlic salt and 1/4 tsp (1g) of onion powder. These “invisible” ingredients ensure the dough is seasoned from the inside out, providing a professional flavor profile.
Must-Have Equipment for Skillet Perfection
The most critical tool for this Cheesy Bombs recipe is a 10-inch (25cm) seasoned cast iron skillet. Cast iron holds heat more effectively than glass or aluminum, ensuring the bottom of the dough “fries” slightly in the butter, creating a rustic, crispy base.
You will also need a small saucepan to emulsify your garlic butter glaze and a pastry brush. The brush allows you to apply the glaze evenly, reaching into the crevices between the dough balls to ensure no part of the crust is left dry or dull.
The Science of the Stuffing: A Step-by-Step Guide
Preparing the Dough Foundation
Start by bringing your dough to room temperature for about 10 minutes. This relaxes the gluten, making it easier to stretch around the cheese without tearing, which prevents “cheese leaks” during the baking process.
Divide your dough into 12 equal-sized portions. If you are looking for more variety in your appetizers, you might also enjoy making cheeseburger bombs for a meatier alternative.
Creating the Molten Core
Flatten each dough ball into a small disk about 3 inches (7.5cm) wide. Place a cube of mozzarella in the center, then pinch the edges firmly to seal the cheese inside.
Roll the ball between your palms to create a smooth, spherical shape. This ensures that as the dough puffs, it expands uniformly, creating that soft, satiny sheen on the top surface.
Crafting the Shimmering Garlic Glaze
In your small saucepan over medium-low heat, melt the butter. Add the minced garlic and sauté for 2-3 minutes until the bits turn a light golden brown and the butter is fragrant.
Remove from heat and stir in the chopped parsley and red pepper flakes. This infusion ensures that every “bomb” is drenched in a translucent, flavorful coating rather than just having toppings sitting on top.
Baking to Golden-Brown Perfection
Arranging the Skillet
Lightly grease your cast iron skillet with a teaspoon of oil or butter. Arrange the 12 dough balls in the skillet, leaving just a tiny bit of space between them for expansion.
Brush half of your garlic butter mixture over the tops of the dough balls. This initial coating helps create those micro-bubbles in the crust as the steam escapes through the fat during the first few minutes of baking.
The Sensory Cues of Baking
Preheat your oven to 375°F (190°C). Slide the skillet onto the center rack and bake for 15-18 minutes. Look for the “Visual & Sensory Cues”: the tops should be a deep, rustic golden-brown and the kitchen should smell intensely of roasted garlic and toasted bread.
Halfway through, you may notice the rolls touching and “paving” together. This is exactly what you want for a pull-apart effect. If you love spicy appetizers like this, you should also check out our southern fire crackers for your next party.
The Finishing Touch
As soon as you remove the skillet from the oven, brush the remaining garlic butter glaze over the hot rolls. The heat will cause the butter to shimmer and soak into the micro-fissures of the crust.
Apply a final dusting of fresh parsley. The residual heat will “bloom” the parsley, releasing its aroma just as you serve the dish.
Expert Tips for the Ultimate Cheese Pull
- Temperature Control: Never use frozen cheese. Cold cheese won’t melt at the same rate the dough bakes, leading to a solid center. Ensure your mozzarella is at room temperature.
- Seal Integrity: When pinching the dough, ensure there is no flour or grease on the edges. A “clean” seal is the only way to prevent the molten cheese from blowing out the side.
- The Skillet Secret: If your skillet isn’t well-seasoned, line it with a circular piece of parchment paper to ensure the bombs lift out easily without losing their bottom crust.
- Flavor Variations: For a twist, try adding a pepperoni slice inside with the cheese to create pepperoni pizza bombs.
How to Store and Reheat Your Cheesy Bombs
These are best served immediately for the maximum “gooey and elastic” cheese pull. However, if you have leftovers, store them in an airtight container in the refrigerator for up to 3 days.
To reheat, avoid the microwave as it can make the dough rubbery. Instead, place them back in a skillet or on a baking sheet at 350°F (175°C) for 5-8 minutes until the cheese is molten again.
What to Serve With This Pull-Apart Bread
This Cheesy Bombs recipe is incredibly versatile. It pairs beautifully with a hearty summer dinner or as a side to a fresh salad. Because of the garlic and butter profile, it also complements pasta dishes brilliantly.
If you are planning a full spread, consider adding some southern fire crackers to the table for a spicy contrast to the creamy mozzarella.
Frequently Asked Questions
Yes! Cook them at 350°F (175°C) for 8-10 minutes. However, the cast iron skillet method is preferred for a superior bottom crust.
Yes, you can use frozen bread dough, but ensure it is completely thawed and has had its first rise at room temperature before stuffing it with cheese to ensure it puffs correctly in the skillet.
The sheen comes from the initial application of garlic butter before baking, which creates a fat barrier that fries the surface of the dough slightly while it expands.
The secret is a clean seal. Ensure no oil or flour touches the edges of the dough disk before you pinch it shut, and roll it firmly between your palms to fuse the seam.
Low-moisture mozzarella is the industry standard for the best stretch. Avoid fresh mozzarella packed in water, as it releases too much moisture and will make the dough soggy.
The Complete Cheesy Bombs Recipe
Cheesy Bombs Recipe: The Ultimate Garlic Butter Skillet Pull-Apart
Ingredients
Equipment
Method
- Preheat oven to 375°F (190°C). Divide biscuit dough into 12 equal portions and flatten into disks.
- Place one cube of mozzarella in the center of each disk. Pinch edges tightly to seal and roll into a smooth ball.
- In a saucepan, melt butter and sauté minced garlic until light golden brown. Stir in parsley, red pepper flakes, and garlic salt.
- Place dough balls in a greased cast iron skillet. Brush with half of the garlic butter glaze.
- Bake for 15-18 minutes until the tops are golden-brown and puffed with a satiny sheen.
- Remove from oven and immediately brush with the remaining garlic butter for a shimmering finish.
Notes
Ensure the dough is pinched tightly to prevent the cheese from leaking in the skillet.
Closing & Call to Action
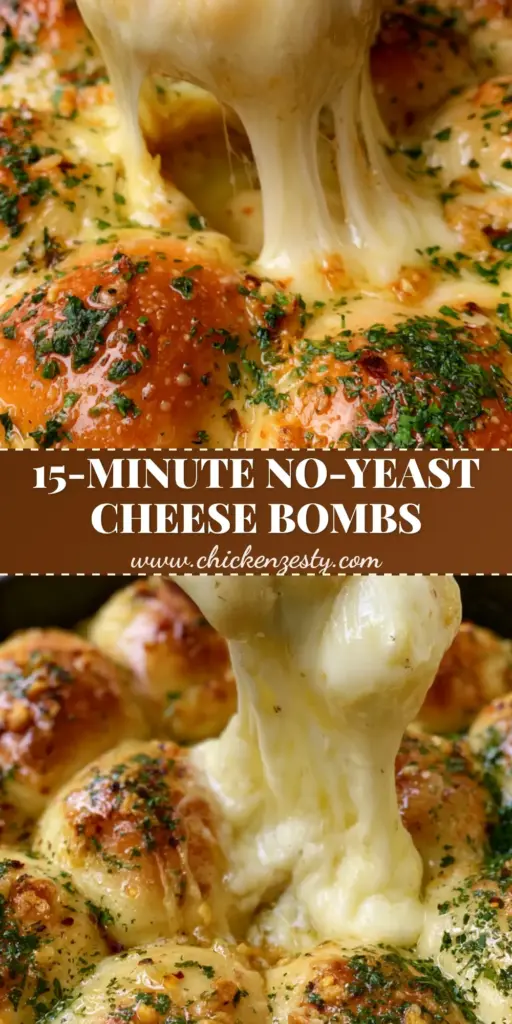
This Cheesy Bombs recipe is a testament to how simple ingredients, when treated with professional technique, can create a world-class appetizer. The combination of the garlic butter glaze, the rustic cast iron bake, and that legendary mozzarella stretch makes it a guaranteed crowd-pleaser.
If you enjoyed this recipe, please leave a comment below and let us know how your cheese pull turned out! Don’t forget to follow us and share your creations to Pinterest to save this for your next party.