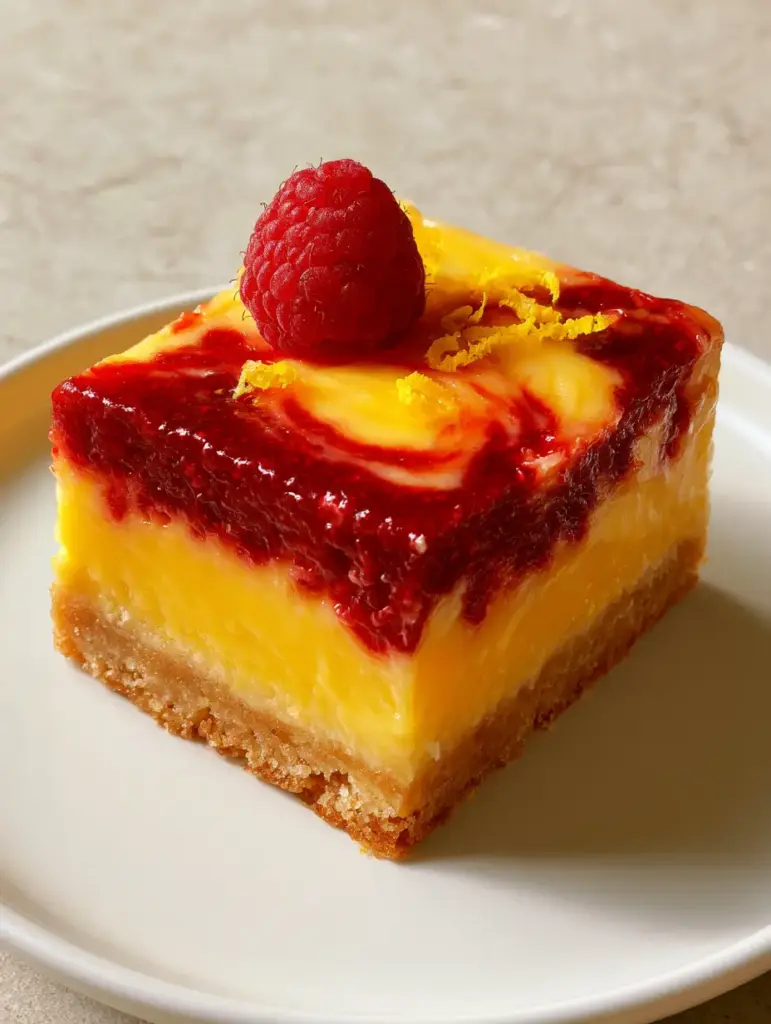
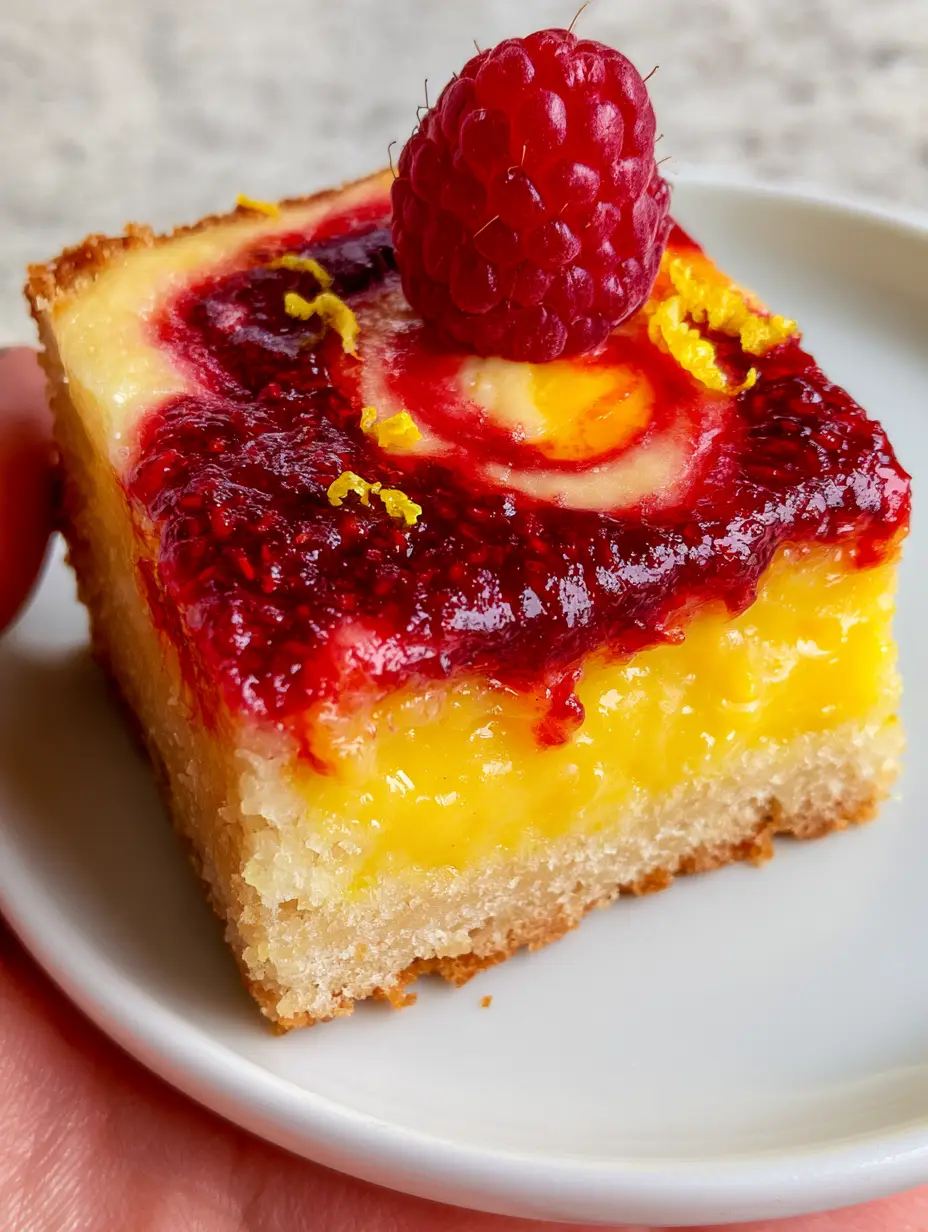
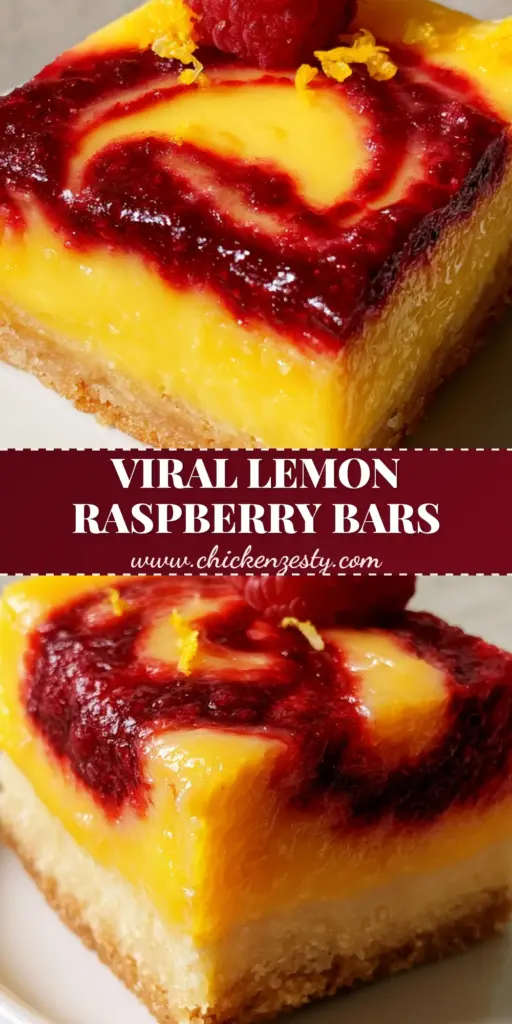
These Lemon Raspberry Bars are the ultimate intersection of zesty citrus brightness and deep, berry sweetness. Imagine a dessert that captures the essence of summer in every bite: a thick, neon-yellow lemon curd layer topped with an artistic ruby-red marbled swirl. The contrast between the tart, glossy filling and the crumbly, golden-brown shortbread base makes these bars a standout at any gathering.
Whether you are snapping a photo for your social media feed or serving these at a backyard brunch, the visual appeal is undeniable. The sharp, clean edges and vibrant colors are achieved through precise culinary techniques and high-quality ingredients. This recipe ensures a professional result that looks exactly like a high-end bakery treat, right down to the delicate lemon zest curls and fresh raspberry garnish.
Why You Will Crave These Marbled Lemon Raspberry Bars
- Textural Contrast: A dense, melt-in-your-mouth buttery shortbread provides the perfect structural foundation for the silky, thick lemon curd.
- Vibrant Visuals: The striking “neon-yellow” curd paired with “deep crimson-red” raspberry coulis creates a stunning marbled effect.
- Balanced Flavor: The intense tartness of fresh lemon juice is perfectly tempered by the concentrated sweetness of the raspberry swirl.
- Professional Finish: Learn the secret to achieving those sharp, clean-cut edges and a glossy, non-weeping curd every time.
The Anatomy of a Perfect Fruit Bar: Essential Ingredients
Unsalted Butter (1 cup / 226g): Cold, cubed butter is pulsed into the flour to create a shortbread that is both sturdy enough to hold and crumbly enough to melt on the tongue. This fat source is the primary flavor driver for the base.
Granulated Sugar (1.5 cups / 300g): Divided between the crust and the curd, sugar provides sweetness while also helping the curd set into a glossy, stable structure. It balances the high acidity of the citrus.
All-Purpose Flour (2 cups / 250g): This serves as the structural backbone of the shortbread crust. A small amount is also used in the curd to ensure it remains thick and “handheld” rather than runny.
Fresh Lemon Juice (1 cup / 240ml): Freshly squeezed juice is non-negotiable for that “vibrant, glossy” finish. Bottled juice lacks the enzymatic brightness and natural pectin required for the perfect set.
Large Egg Yolks (6 total): Using extra yolks provides that specific “neon-yellow” color and a rich, creamy mouthfeel that whole eggs alone cannot achieve. They act as the primary thickening agent.
Fresh Raspberries (1.5 cups / 185g): These are reduced into a thick coulis for the marbled swirl. Extra whole raspberries are reserved for the final “plump” garnish mentioned in the visual blueprint.
Lemon Zest (2 tbsp / 12g): Fine zest is whisked into the curd for flavor, while larger “curls” are reserved for the final garnish to provide a professional aesthetic.
Powdered Sugar (for dusting): A light “snowfall” of confectioners’ sugar adds the final touch of elegance and hides any minor surface imperfections.
Essential Gear for Sharp-Edged Dessert Squares
To achieve the clean lines seen in our visual guide, you will need an 8×8 inch (20x20cm) square baking pan. A smaller pan ensures the bars are “thick-cut” rather than thin and flimsy. Lining the pan with parchment paper with an “overhang” is crucial for lifting the entire block out before slicing.
A fine-mesh sieve is also required to strain the raspberry coulis. This removes the seeds, ensuring the ruby-red swirl is perfectly smooth and glossy. For the lemon curd, a heavy-bottomed stainless steel saucepan prevents the eggs from scorching, which would ruin the vibrant yellow color.
The Golden Foundation: Crafting the Crumbly Shortbread
Start by preheating your oven to 350°F (175°C). In a food processor, combine the flour, 1/2 cup (100g) of sugar, and a pinch of salt. Pulse in the cold, cubed butter until the mixture resembles coarse crumbs with some pea-sized pieces remaining.
Press this mixture firmly into the bottom of your prepared pan. Use the bottom of a flat measuring cup to ensure the layer is even and compressed. This prevents the lemon curd from soaking into the crust and making it soggy.
Bake the crust for 18-22 minutes. You are looking for a “golden-brown” base that smells toasted and buttery. Par-baking is the secret to that “crumbly nature” highlighted in the visual blueprint. Set the crust aside while you prepare the fillings.
The Art of the Marbled Ruby Swirl
While the crust is in the oven, place 1 cup (125g) of raspberries in a small saucepan with 2 tablespoons of sugar and a splash of lemon juice. Simmer over medium heat, mashing the berries until they break down into a liquid. This creates the “deep crimson-red” base.
Strain the mixture through a fine-mesh sieve into a small bowl, discarding the seeds. If the coulis seems too thin, return it to the heat and reduce until it coats the back of a spoon. It must be thick enough to sit on top of the curd without immediately sinking.
The Glossy Neon Layer: Perfecting the Lemon Curd
In a medium bowl, whisk together the remaining sugar and 1/4 cup (30g) of flour. Whisk in the 6 egg yolks until the mixture is pale and smooth. Slowly stream in the 1 cup (240ml) of fresh lemon juice, whisking constantly to prevent the eggs from curdling.
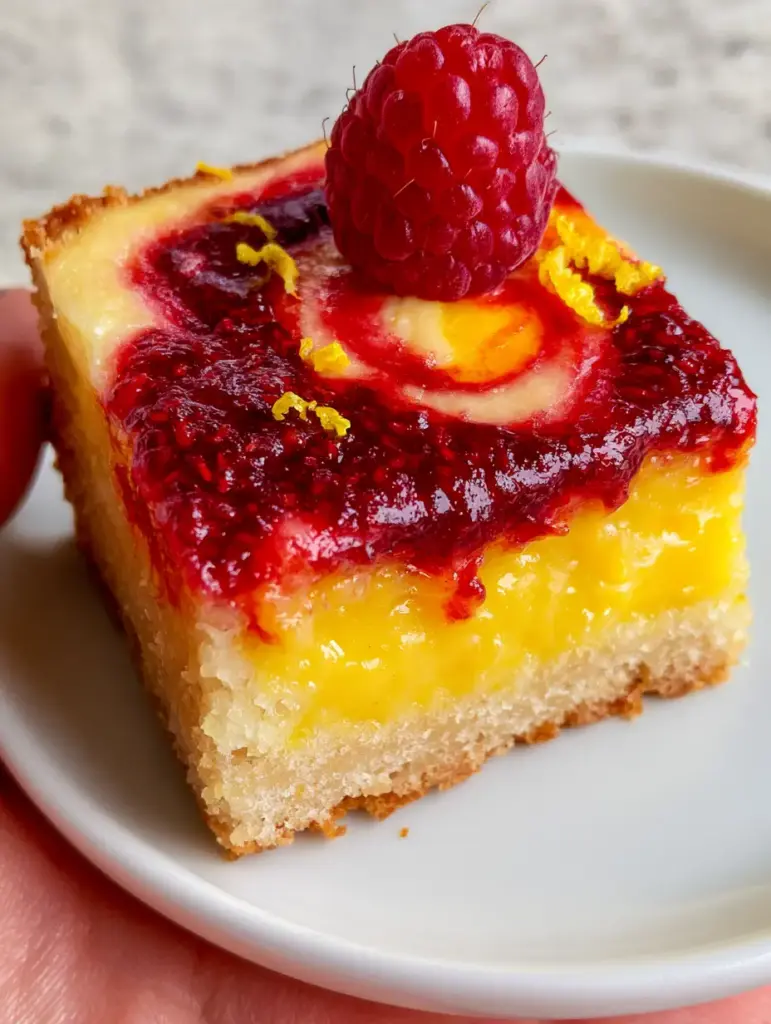
Pour the mixture into a saucepan over medium-low heat. Stir continuously with a silicone spatula, reaching into the corners of the pan. The curd is ready when it thickens significantly and coats the spatula—this usually takes 8-10 minutes. It should look “vibrant, glossy, and neon-yellow.”
Immediately pour the warm curd over the par-baked crust. Smooth the top with an offset spatula to ensure the edges are clean. This provides the “thick layer” required for the handheld photo look.
Achieving the Marbled Masterpiece
Drop small spoonfuls of the raspberry coulis onto the surface of the warm lemon curd. Using a toothpick or the tip of a knife, gently drag the red sauce through the yellow curd in a figure-eight motion. Do not over-swirl, or the colors will muddy; you want distinct “marbled” lines.
Return the pan to the oven for another 15-18 minutes. The edges should be set, but the center should still have a slight “jiggle” when shaken. This ensures a “creamy texture” once cooled.
Pro Tips for That Social-Media-Ready Look
- The Chill Factor: For “clean and sharp” edges, you must chill the bars for at least 4 hours, or ideally overnight. Slicing warm bars will result in a messy, blurred finish.
- The Hot Knife Trick: Dip a sharp chef’s knife in boiling water and wipe it dry between every single cut. This prevents the curd from sticking to the blade and dragging through the crust.
- The Garnish Timing: Only add the “light dusting of powdered sugar” and the “fresh plump raspberry” right before serving. Powdered sugar dissolves into the curd if left in the fridge.
- Zest Technique: Use a channel knife to create “lemon zest curls” rather than a fine grater for that high-end garnish look.
Keeping Your Zesty Bars Fresh and Vibrant
These bars should be stored in an airtight container in the refrigerator. Because of the fresh dairy and egg content in the curd, they will stay fresh for up to 5 days. If you find the shortbread softening, you can place a small piece of parchment paper between the layers.
For long-term storage, these bars freeze surprisingly well. Wrap individual squares in plastic wrap and store in a freezer bag for up to 3 months. Thaw them in the refrigerator overnight before garnishing and serving.
What to Serve at Your Next Sunny Gathering
These Lemon Raspberry Bars are the stars of the show, but they pair beautifully with other handheld treats. Consider serving them alongside some blueberry cream cheese bars for a varied berry palette, or perhaps some classic s’more bars for those who prefer chocolate.
If you are planning a full menu, these bars are the perfect conclusion to a meal of summer dinner recipes. They act as a refreshing palate cleanser after savory dishes like chicken caesar pasta salad. For a fun party spread, they even hold their own next to salty snacks like spicy firecrackers.
Frequently Asked Questions
Yes, frozen raspberries work perfectly for the coulis. Just be sure to simmer them long enough to reduce the extra moisture so the swirl doesn’t sink into the curd.
Using high-quality, fresh egg yolks and plenty of fresh lemon zest provides that vibrant natural yellow. Avoid using bottled lemon juice, which can look dull.
The secret is a long chill time (at least 4 hours) followed by using a hot, clean knife. Dip your knife in hot water and wipe it dry between every single cut to prevent the curd from dragging.
Ensure you par-bake the crust until it is truly golden-brown before adding the liquid curd. Also, pressing the crumbs firmly into the pan prevents the curd from seeping through.
This usually happens if the curd wasn’t cooked long enough on the stovetop or if the ratio of egg yolks was too low. Ensure the curd is thick enough to coat a spatula before pouring it over the crust.
The Ultimate Lemon Raspberry Bars Recipe
Lemon Raspberry Bars with a Buttery Shortbread Crust
Ingredients
Equipment
Method
- Pulse cold butter, 2 cups flour, 1/2 cup sugar, and salt in a food processor until coarse crumbs form.
- Press firmly into a lined 8x8 pan. Bake at 350°F (175°C) for 18-22 minutes until golden-brown.
- Simmer 1 cup raspberries with 2 tbsp sugar until broken down. Strain through a sieve to remove seeds.
- Whisk egg yolks, remaining sugar, and lemon juice. Cook over medium-low heat until thick and glossy.
- Pour curd over crust. Dollop raspberry coulis on top and swirl with a toothpick. Bake 15 minutes more.
Notes
Wipe knife clean between cuts.
Closing & Call to Action
Mastering these Lemon Raspberry Bars is a rite of passage for any serious home baker. The combination of the “neon-yellow” curd and the “ruby-red” swirl is not just delicious—it is a work of edible art. We can’t wait to see your handheld creations! If you enjoyed this recipe, please leave a comment below and share your photos with us on Pinterest. Happy baking!