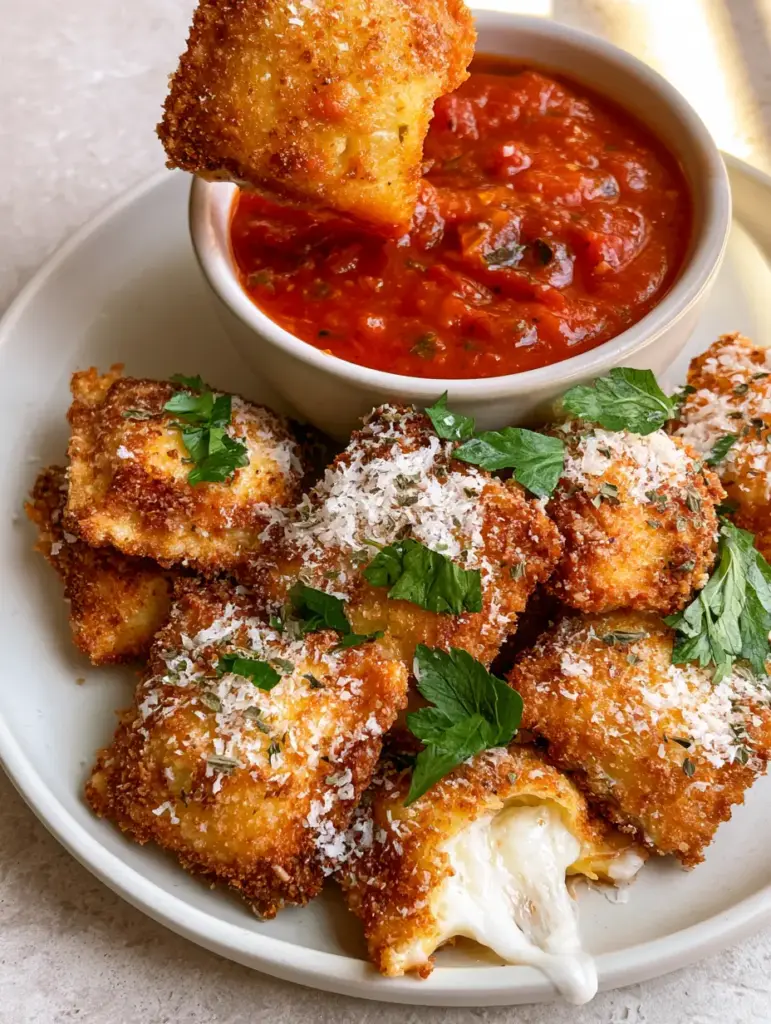
If you are searching for the most satisfying crunch in the culinary world, look no further than this air fryer ravioli. This recipe transforms standard pasta into a handheld, crispy masterpiece that rivals any restaurant appetizer. By using the high-velocity heat of the air fryer, we achieve a texture that is both shatteringly crisp on the outside and decadently gooey on the inside.
Imagine biting into a golden-brown panko crust, perfectly seasoned with dried oregano, only to find a molten center of creamy ricotta and melted mozzarella. The contrast of the hot, snowy-dusted parmesan cheese against the vibrant, chunky marinara sauce creates a sensory experience that is truly unmatched. This is not just a snack; it is a gourmet event that takes less than 20 minutes to prepare.
Whether you are hosting a game day party or simply need a quick weeknight treat, these toasted pasta pillows are the solution. The visual appeal of the micro-textured crust and the bright green flecks of fresh parsley make this dish as beautiful as it is delicious. Let’s dive into the science of the perfect air-fried crunch.
Why This Toasted Pasta Technique Is a Game Changer
- Shatteringly Crisp Texture: The combination of panko breadcrumbs and high-heat air circulation creates a crust that stays crunchy far longer than traditional oil-frying.
- Gooey Dual-Cheese Center: By balancing creamy ricotta and stretchy mozzarella, we ensure every bite has that iconic cheese pull and a rich, velvety mouthfeel.
- Healthier Frying Alternative: Achieve the exact visual and textural results of deep-frying with just a fraction of the oil, making this a guilt-free indulgence.
- Explosive Flavor Profile: The marriage of dried oregano, red pepper flakes, and finely grated parmesan ensures every layer is seasoned to perfection.
The Secret Ingredients for a Perfectly Crunchy Coating
Creating the ultimate air fryer ravioli requires more than just breadcrumbs; it requires a strategic layering of flavors and textures. Each ingredient plays a specific role in achieving the visual and culinary success of the dish.
Refrigerated Cheese Ravioli: We recommend using fresh, refrigerated ravioli (approx. 20 oz or 565g) rather than frozen for the best internal melt. The soft pasta dough hydrates the breading just enough to ensure it sticks during the air frying process.
Panko Breadcrumbs: You will need 2 cups (120g) of panko. Unlike standard breadcrumbs, panko has a larger surface area, which is essential for creating those “micro-textures of crunch” seen in professional food photography.
All-Purpose Flour: 1/2 cup (65g) of flour acts as the dry “primer” for our pasta. It absorbs surface moisture, allowing the egg wash to adhere without sliding off during the cooking cycle.
Large Eggs: 2 large eggs, beaten with a splash of water, serve as the protein glue. This layer is what structural integrity is built upon, ensuring the panko doesn’t flake off in the basket.
Mozzarella and Ricotta Filling: Ensure your ravioli is stuffed with these two specific cheeses. The ricotta provides the creamy base, while the mozzarella provides the “gooey” visual when bitten open.
Finely Grated Parmesan: 1/4 cup (25g) of snowy, finely grated parmesan is used as a post-cook garnish. It melts slightly onto the hot crust, adding a sharp, salty punch.
Dried Oregano and Red Pepper Flakes: 1 tsp (2g) of oregano and a pinch of red pepper flakes are mixed into the breading. This adds earthy notes and a subtle heat that cuts through the richness of the cheese.
Fresh Flat-Leaf Parsley: 2 tbsp (8g) of finely chopped parsley provides the “bright green” visual contrast that elevates the dish from a simple snack to a plated masterpiece.
Thick Chunky Marinara: 1 cup (245g) of a high-quality, vibrant red sauce is the mandatory dipping companion. Look for brands with visible chunks of tomato to match our visual blueprint.
Neutral Oil Spray: An invisible but critical ingredient. A high-smoke point oil (like avocado or canola spray) is necessary to help the panko achieve that deep golden-brown hue without burning the herbs.
Essential Tools for Air Frying Success
To achieve the handheld smartphone photo quality results, you need the right equipment. A standard 6-quart air fryer provides enough surface area to cook the ravioli in a single layer, which is vital for even browning.
You will also need three shallow bowls for your dredging station. Using wide, flat-bottomed containers prevents the ravioli from clumping together. A pair of silicone-tipped tongs is recommended to handle the delicate pasta without piercing the dough, which could lead to cheese leakage.
Lastly, a wire cooling rack is helpful. Placing the hot ravioli on a rack for just 60 seconds after cooking allows air to circulate around the base, preventing the bottom from becoming soggy while you prep the dipping sauce.
Mastering the Triple-Dredge Breaded Pasta Technique
The key to a restaurant-quality air fryer ravioli is a disciplined dredging process. This ensures the crust is thick enough to be crispy but thin enough to let the pasta flavor shine through.
Step 1: The Flour Primer
Pat your ravioli dry with a paper towel. Toss them gently in the all-purpose flour until they are fully coated but not cakey. Shake off any excess; you want a fine, dusty layer that looks like a light frost.
Step 2: The Protein Glue
Dip the floured ravioli into the beaten egg mixture. Ensure every corner and edge of the pasta is wet. If you miss a spot here, the panko will not stick, resulting in a “bald” spot on your finished fried pasta.
Step 3: The Panko Encrusting
Press the ravioli firmly into the panko breadcrumbs mixed with dried oregano. You want to physically press the crumbs into the dough. This creates the dense, jagged texture that browns so beautifully under the air fryer’s heating element.
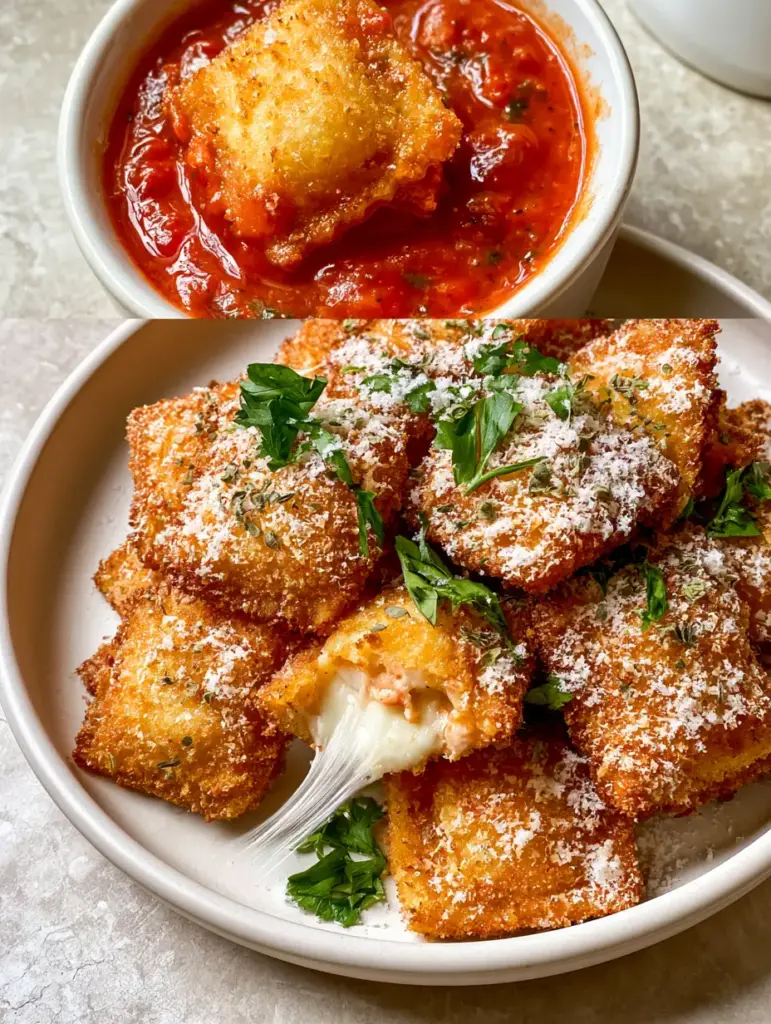
Achieving the Golden-Brown Visual Finish
Preheat your air fryer to 400°F (200°C) for at least 5 minutes. This initial blast of heat is what sets the crust immediately, preventing the cheese inside from overheating and exploding before the outside is done.
Place the breaded ravioli in the basket, ensuring they are not touching. Lightly spray the tops with your neutral oil. Cook for 3-4 minutes, then flip, spray the other side, and cook for another 3-4 minutes. You are looking for a deep, vibrant golden-brown color and a texture that sounds hollow when tapped with a fork.
Watch for the “steam trail” cue. If you see a tiny bead of cheese starting to peek out from the side of a ravioli, they are perfectly done. The internal temperature of the cheese should be piping hot and gooey.
Expert Tips for Success
- Don’t Overcrowd: If you stack the ravioli, the steam from the pasta will soften the breading. Always cook in batches to maintain that “micro-texture of crunch.”
- Use Fresh Herbs: While dried oregano belongs in the breading, always use fresh flat-leaf parsley for the garnish. The color contrast against the golden pasta is essential for the visual appeal.
- The Oil Spray Trick: If your ravioli look floury or white after 3 minutes, they need more oil spray. The oil is the conductor that browns the breadcrumbs.
- Choose Thick Sauce: A watery marinara will soak into the crust. Use a thick, chunky sauce that “clings” to the ravioli when dipped.
Preserving the Crunch: Storage and Reheating Tips
If you have leftovers, though unlikely, store them in an airtight container in the refrigerator for up to 2 days. To maintain the crispy integrity, never use a microwave for reheating.
To reheat, place the air fryer ravioli back into the air fryer at 375°F (190°C) for 2-3 minutes. This will recrisp the panko and melt the mozzarella center without drying out the pasta dough.
What to Serve With This Toasted Pasta
These crispy ravioli are the stars of the show, but they pair beautifully with other Mediterranean-inspired snacks. Create a full spread by serving them alongside some cheesy mozzarella sticks or these savory parmesan bites for a variety of textures.
For a complete appetizer platter, consider adding crispy feta rolls or some tangy air fryer peppers to balance the richness of the ricotta. If you are looking for a crunchier snack mix to go alongside, this smoky snack mix provides a great contrast.
Frequently Asked Questions
Yes, but you should thaw them in the refrigerator first. If you cook them from frozen, the breading may burn before the cheese in the center is fully melted.
No, you should not boil them. Using fresh, refrigerated ravioli allows the pasta dough to cook through and the cheese to melt perfectly within the short air frying time without becoming mushy.
The secret is a light, even spray of oil. The oil conducts the heat from the air fryer, browning the panko breadcrumbs and creating that signature toasted look and crunch.
Refrigerated cheese ravioli (mozzarella and ricotta) are best because they have a high moisture content which helps the breading stick and creates a better ‘cheese pull’ when hot.
This usually happens if the ravioli weren’t patted dry before the flour coating, or if the flour layer was too thick. Ensure a light dusting of flour so the egg wash can act as a strong adhesive for the panko.
The Best Crispy Air Fryer Ravioli Recipe
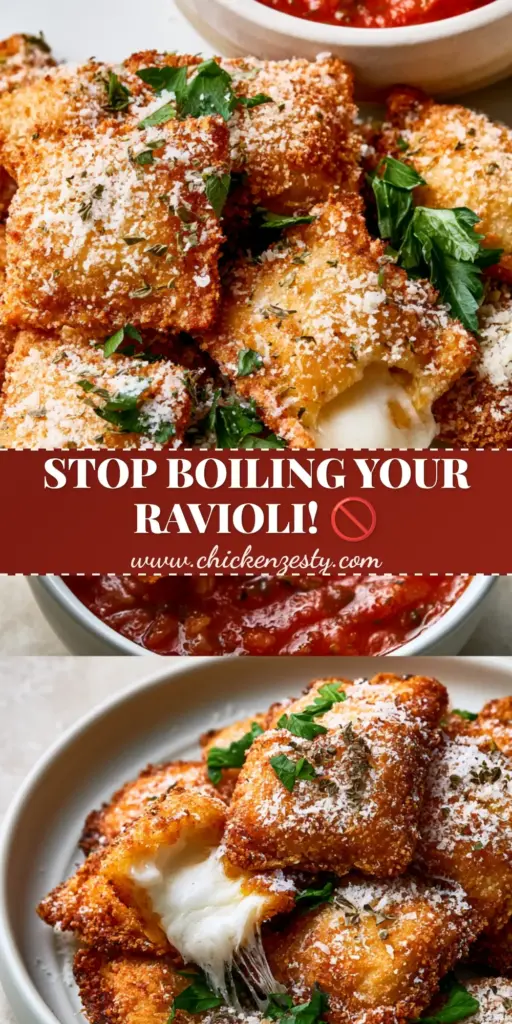
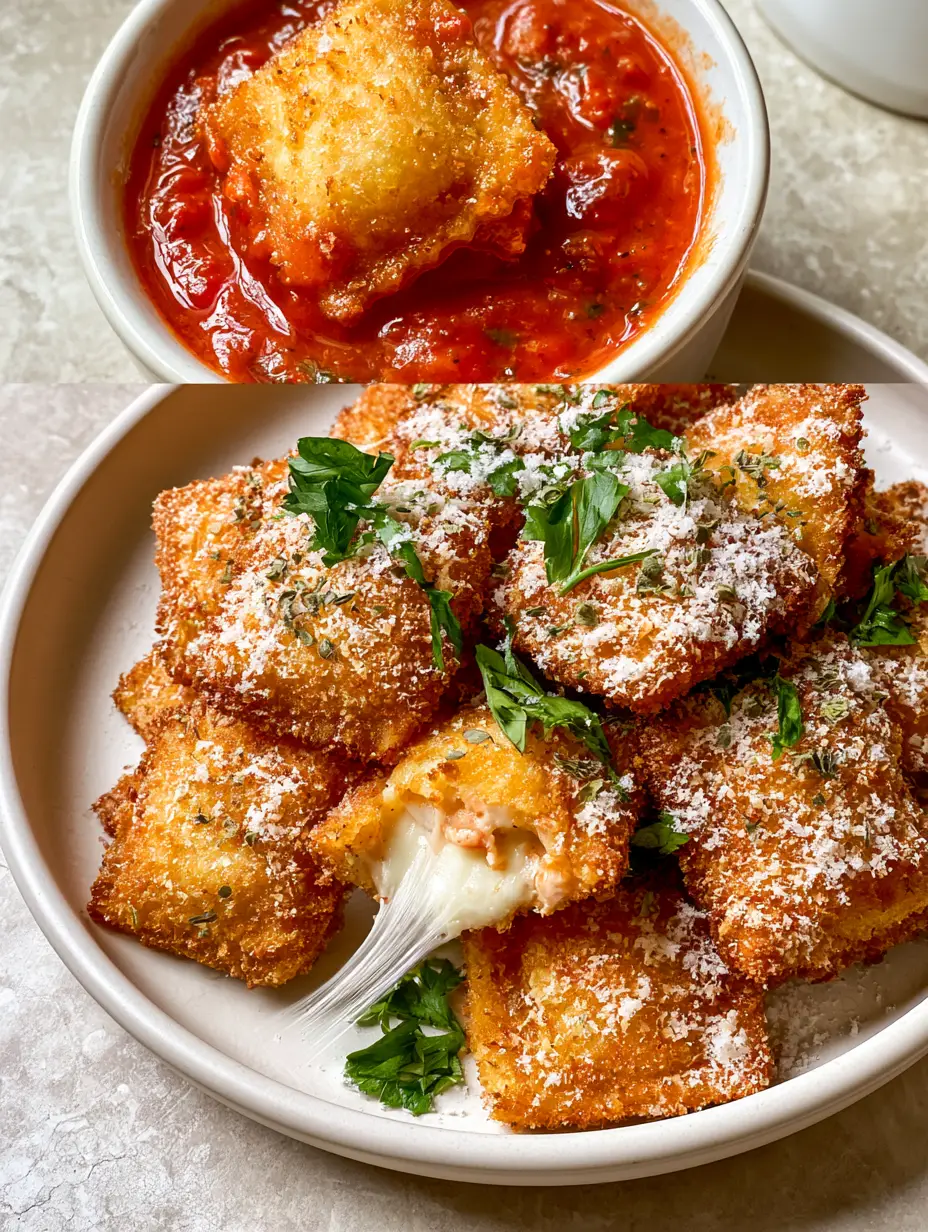
Air Fryer Ravioli: The Ultimate Golden-Brown Crispy Toasted Pasta Recipe
Ingredients
Equipment
Method
- Place flour in the first bowl, beaten eggs in the second, and panko mixed with dried oregano in the third.
- Coat each ravioli in flour, dip in egg, and press firmly into the panko mixture until fully encrusted.
- Preheat air fryer to 400°F (200°C). Place ravioli in a single layer in the basket and spray with neutral oil.
- Cook for 4 minutes, flip using tongs, spray again, and cook for an additional 3-4 minutes until golden-brown.
- Dust hot ravioli with finely grated parmesan, red pepper flakes, and fresh parsley. Serve with warm marinara.
Notes
Use refrigerated pasta instead of frozen for the best melted cheese center.
Join the Crispy Revolution!
These air fryer ravioli are a testament to how simple ingredients can be transformed into something extraordinary with the right technique. The combination of the toasted panko and the gooey cheese center is a guaranteed crowd-pleaser that looks just as good as it tastes.
If you enjoyed this recipe, please leave a comment below and let us know how your crunch turned out! Don’t forget to follow us on Pinterest for more visually stunning and delicious recipes. Sharing this post helps us keep the kitchen running—happy air frying!