If you are looking for a snack that packs a punch, fire crackers are the legendary seasoned saltines you have been waiting for. These aren’t just your standard pantry staples; they are transformed into a gourmet treat through a precise infusion of zesty oils and aromatic spices. Every bite offers a shatteringly crisp texture paired with a slow-burn heat that keeps you coming back for more.
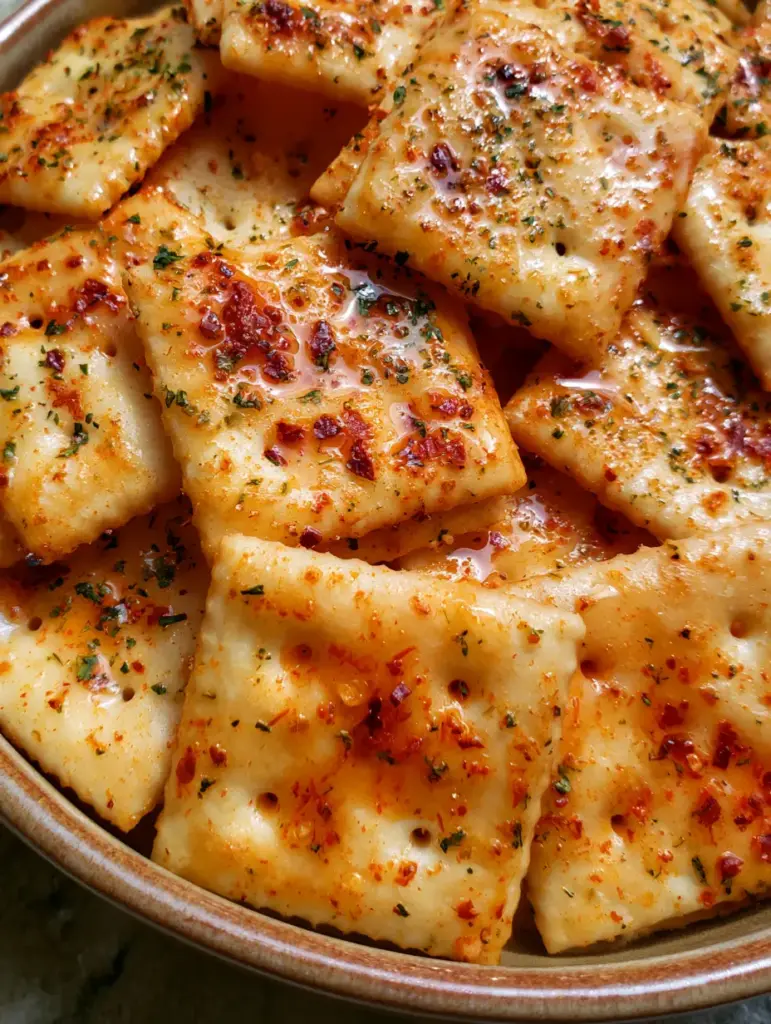
In this guide, we will explore the culinary science behind achieving that perfect, glistening red glaze seen in our professional photography. We will move beyond the basic “bag and shake” method to ensure every docking hole in the cracker is filled with flavor. Get ready to elevate your snack game with a recipe that is as visually stunning as it is delicious.
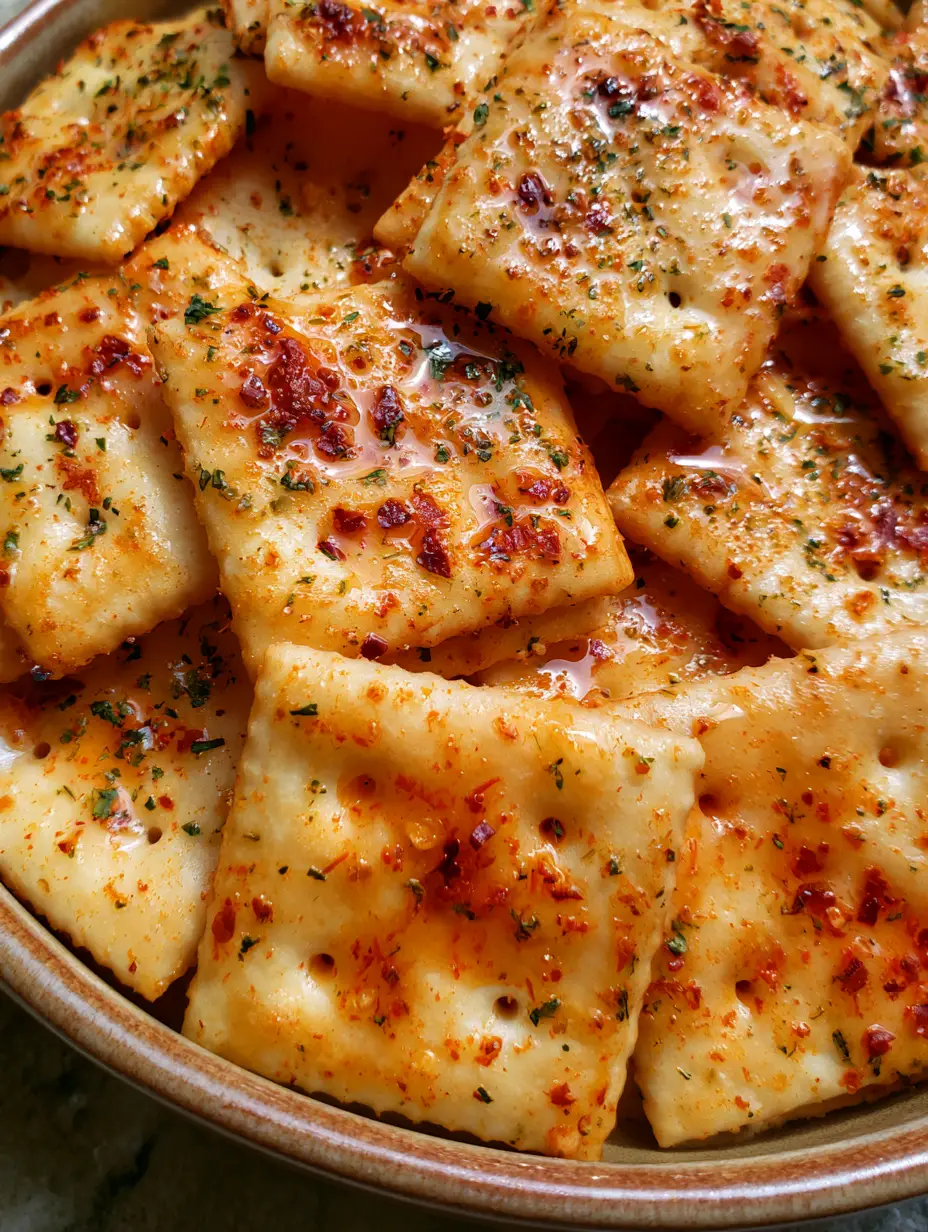
From the vibrant flecks of red pepper to the fine green specks of dried parsley, these crackers are a feast for the eyes. They represent the perfect marriage of Southern hospitality and bold, modern spice profiles. Let’s dive into the forensic details of making the perfect batch of fire crackers.
Why These Seasoned Saltines Define the Ultimate Snack Experience
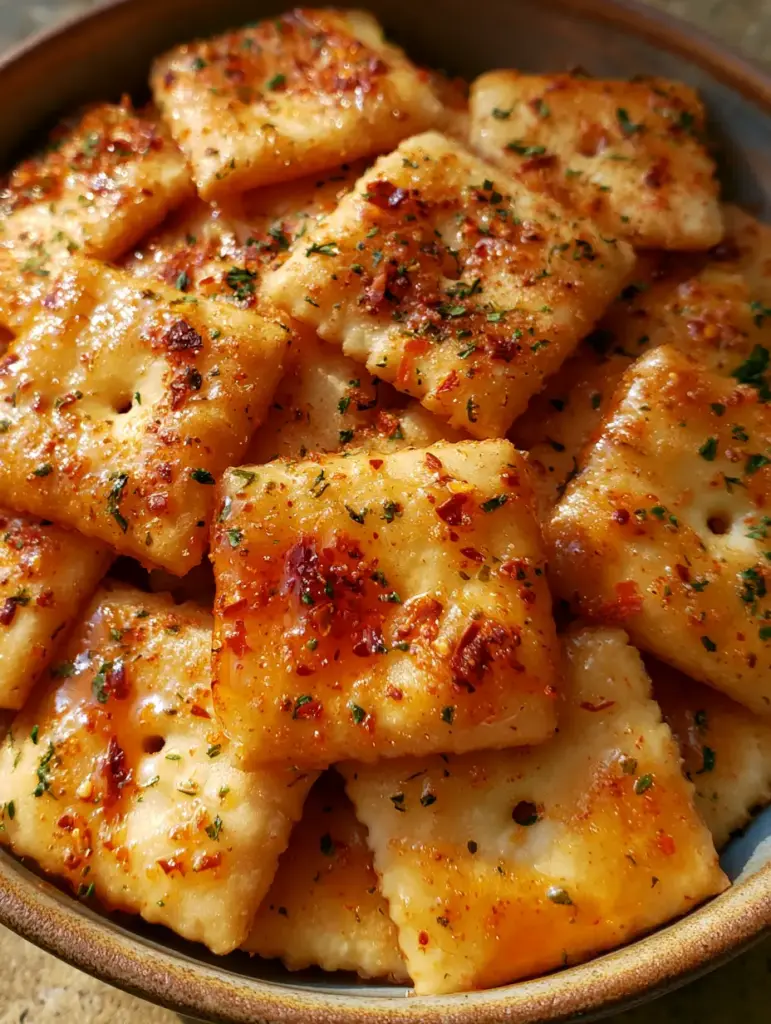
- Unmatched Visual Appeal: A thick dusting of ranch seasoning powder creates a matte contrast against the glistening, translucent spicy red oil glaze.
- Complex Flavor Profile: The pale golden cracker base provides a neutral canvas for the sharp heat of crushed red pepper and the cooling tang of buttermilk ranch.
- Scientifically Crispy: By using a controlled infusion process, we ensure the crackers stay crisp and light, avoiding the common pitfall of greasiness.
- The Perfect Party Appetizer: Their vibrant colors and intense aroma make them an instant conversation starter at any gathering or game day event.
The Anatomy of a Perfect Spicy Cracker Coating
To achieve the look of our “Visual Recipe Blueprint,” we must carefully select ingredients that serve both a functional and aesthetic purpose. The base is 4 sleeves (approx. 16 oz or 450g) of square saltine crackers. Look for crackers with clear, open docking holes—those little dots on the surface—which act as tiny reservoirs for our spicy oil infusion.
The “translucent spicy oil coating” is achieved using 1 cup (240ml) of high-quality vegetable or canola oil. This neutral oil carries the fat-soluble flavors of the spices deep into the cracker’s crumb. To create that signature red hue, we incorporate 2 to 3 tablespoons (12-18g) of crushed red pepper flakes. These flakes provide both the heat and the “vibrant” visual pops required for our aesthetic goal.
The “thick dusting” mentioned in our prompt comes from 1 packet (28g) of dry ranch seasoning mix. This powder clings to the oil, creating a textured, savory crust. Finally, 1 tablespoon (1g) of fine dried parsley flakes adds those “fine specks of green” that break up the red and gold color palette, making the crackers look professionally curated.
Essential Equipment for Uniform Spice Distribution
To replicate the “macro close-up” quality of our fire crackers, you need tools that facilitate even coating. A 2-gallon (7.5L) heavy-duty zip-top bag is the most effective vessel for the initial marination. It allows you to tumble the crackers gently without breaking their fragile edges, ensuring every square is bathed in oil.
You will also need a large whisk and a glass measuring jug to emulsify the oil and spices before they hit the crackers. For the final “set,” a large rimmed baking sheet lined with parchment paper is essential. While some recipes skip the heat, a low-temperature bake is the “Culinary Forensics” secret to creating that “glistening” look that isn’t oily to the touch.
Mastering the Infusion: The Step-by-Step Evolution of Fire Crackers
Phase 1: Creating the Spicy Oil Emulsion
In a medium mixing bowl or large glass measuring cup, combine 1 cup (240ml) of oil with the ranch seasoning, red pepper flakes, and dried parsley. Whisk vigorously for at least 60 seconds. You want the ranch powder to be suspended in the oil rather than sinking to the bottom. This ensures that the first cracker into the bag doesn’t take all the flavor, leaving the rest bare.
Phase 2: The Gentle Tumble and Marination
Place your 4 sleeves of saltines into the 2-gallon bag. Pour the spicy oil mixture over the crackers, then seal the bag while trapping a small amount of air inside to create a “pillow” effect. Gently rotate and flip the bag every 15 minutes for at least one hour. You will see the crackers transform from a pale white-gold to a rich, translucent orange-red as the oil penetrates the surface.
Phase 3: The Low-Temp Setting Bake
Preheat your oven to 250°F (120°C). This low heat is crucial; we aren’t “cooking” the crackers, but rather “setting” the glaze. Spread the crackers in a single layer on your prepared baking sheet. Bake for 15-20 minutes, giving the pan a gentle shake halfway through. Watch for the oil to transition from a liquid state to a shimmering, translucent glaze that clings tightly to the cracker’s docking holes.
Phase 4: The Cooling and Crystallization Process
Remove the pan from the oven and let the fire crackers cool completely on the sheet. As they cool, the ranch seasoning “dust” will fuse with the spicy oil, creating that thick, textured appearance described in our visual prompt. The result is a cracker that looks like a handheld smartphone photo masterpiece: sharp highlights, deep shadows, and an irresistible golden glow.
Pro-Tips for Achieving Visual and Flavor Excellence
- The Resting Period: If you have time, let the crackers sit in the bag overnight. This “cold infusion” allows the red pepper flakes to fully hydrate, releasing more of their natural red pigment into the oil glaze.
- Avoid the Sogginess: Never use butter as a substitute for oil in this recipe. The water content in butter will soften the crackers, ruining the “shatteringly crisp” texture we are aiming for.
- Adjusting the Heat: For a “Handheld Smartphone” aesthetic that isn’t too spicy, you can pulse the red pepper flakes in a spice grinder for 2 seconds. This creates smaller specks that cover more surface area without adding overwhelming heat.
- Sensory Cue: You know they are done in the oven when the aroma of toasted garlic and herbs fills the kitchen and the crackers appear “matte-glistening” rather than “wet.”
Shelf Life and Freshness Protection
Fire crackers are remarkably shelf-stable due to the low moisture content of the saltines and the preservative nature of the oil and salt. Store them in an airtight container or a clean zip-top bag at room temperature for up to two weeks. Avoid storing them in the refrigerator, as the humidity can cause the crackers to lose their crunch.
If they do happen to soften slightly in humid weather, you can easily revive them. Simply spread them back on a baking sheet and pop them into a 300°F (150°C) oven for 5 minutes. They will crisp right back up, and the spicy oil will regain its beautiful translucence.
The Best Pairings for Your Zesty Saltine Snack
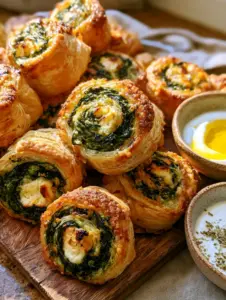
These fire crackers are incredibly versatile. They are the perfect crunchy companion to a creamy chicken caesar pasta salad, where the spicy ranch notes complement the tangy caesar dressing beautifully. The heat of the crackers also provides a brilliant contrast to the cool, savory layers of savory spinach and feta pinwheels.
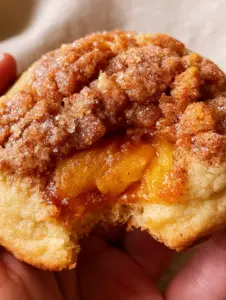
If you are hosting a party, serve these alongside a variety of textures. For a sweet-and-spicy contrast, follow up these crackers with a dessert of peach cobbler cookies or even some indulgent deep fried marshmallows. The lingering heat of the red pepper flakes makes the sweetness of the desserts pop.
Frequently Asked Questions About Fire Crackers
They definitely have a kick! To make a kid-friendly version, reduce the red pepper flakes to 1 teaspoon and increase the ranch seasoning and parsley for flavor without the intense heat.
While you can use Ritz, saltines are preferred because their ‘docking holes’ and dry, porous texture are better at absorbing the spicy oil without becoming overly greasy or soggy.
No-bake versions exist, but baking at 250°F (120°C) for 15-20 minutes creates a superior, glistening translucent finish that is less messy to handle and much crispier.
The vibrancy comes from high-quality crushed red pepper flakes and a long marination period (at least 1 hour, or overnight), which allows the natural oils and colors of the peppers to bleed into the coating oil.
Sogginess usually happens if you use butter instead of oil, or if you don’t bake them at a low temperature to ‘set’ the glaze. Ensure you use a neutral vegetable oil for the best crunch.
How to Make the Best Fire Crackers (Recipe Card)
Fire Crackers: The Ultimate Spicy Ranch Saltine Snack Recipe
Ingredients
Equipment
Method
- In a small bowl, whisk together the vegetable oil, ranch seasoning, crushed red pepper flakes, dried parsley, and garlic powder until well combined and the ranch powder is suspended.
- Place all four sleeves of saltine crackers into a large 2-gallon zip-top bag. Pour the oil mixture over the crackers.
- Seal the bag and gently flip and rotate it to ensure every cracker is evenly coated. Let the bag rest for 1 hour, flipping every 15 minutes to allow the oil to seep into the docking holes.
- Preheat oven to 250°F (120°C). Spread crackers in a single layer on a parchment-lined baking sheet. Bake for 15-20 minutes until the oil creates a glistening, translucent glaze.
- Allow the crackers to cool completely on the pan to reach maximum crispness before serving.
Notes
Ensure the crackers are square saltines with visible docking holes for maximum oil absorption.
Closing & Call to Action
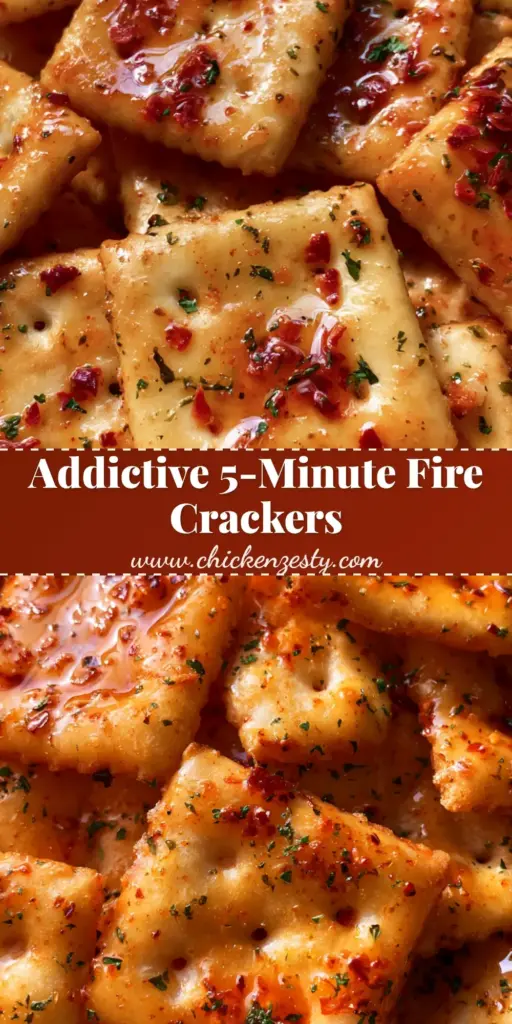
Mastering fire crackers is a rite of passage for any home cook who loves bold flavors and simple techniques. By focusing on the visual cues—the glistening glaze, the thick ranch dusting, and the vibrant red flakes—you can create a snack that looks as good as it tastes. Whether you’re serving them at a backyard BBQ or keeping a stash in your pantry for late-night cravings, these crackers are sure to satisfy.
If you enjoyed this deep dive into snack forensics, please leave a comment below and let us know how your batch turned out! Don’t forget to share your photos and tag us. For more visually stunning recipe inspiration, be sure to follow us on Pinterest.