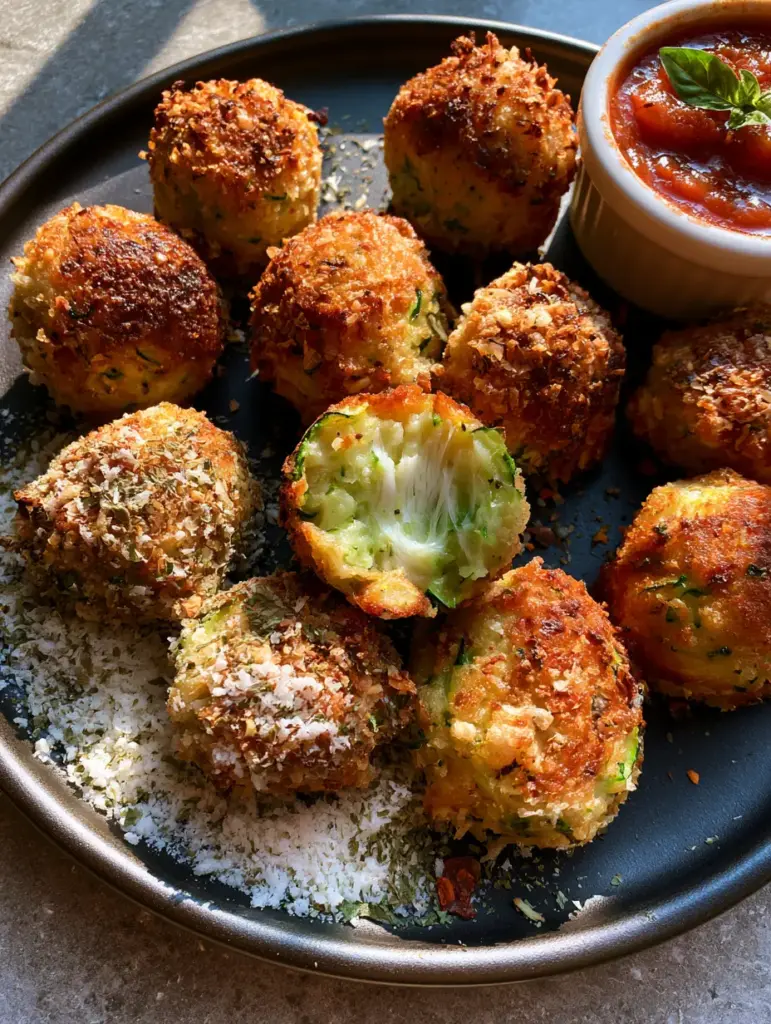
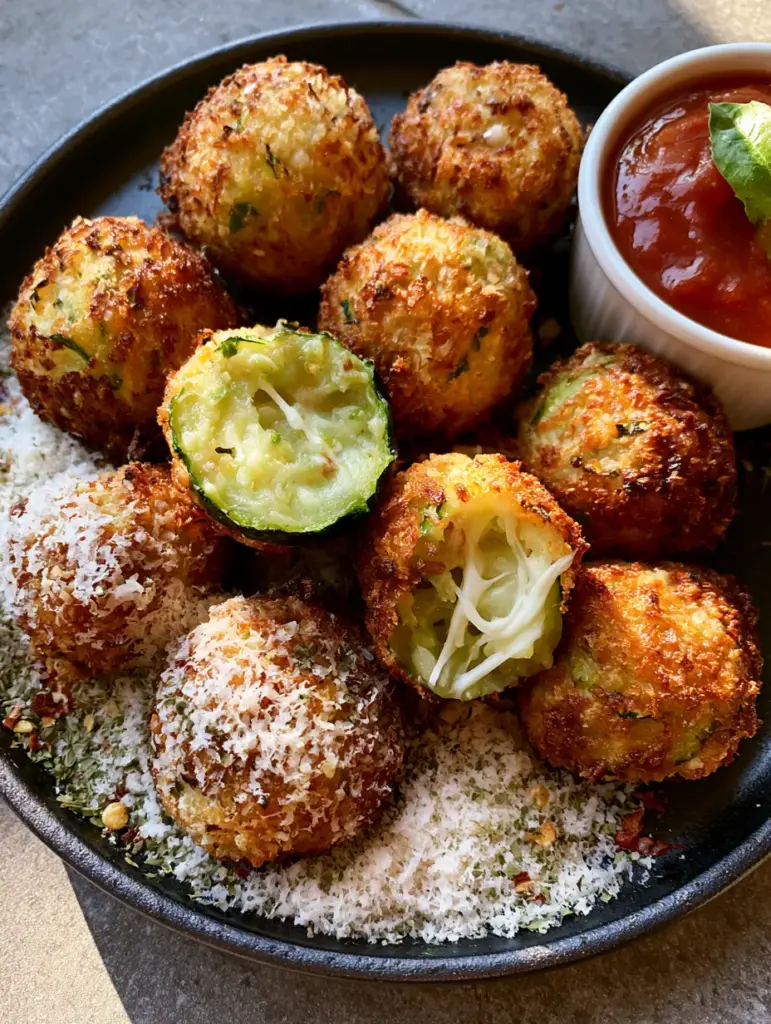
Garlic Zucchini Balls are the ultimate solution for anyone looking to transform humble garden vegetables into a high-end, restaurant-quality appetizer. These bites feature a stunning golden-brown toasted parmesan crust that shatters upon the first bite, revealing a tender, vibrant green interior and a hidden core of gooey, melted mozzarella.
The visual contrast is striking; the deep, craggy texture of the breadcrumbs is punctuated by tiny flecks of emerald zucchini skin, all served on a sleek matte black ceramic plate. When you pull one apart, the “cheese pull” from the mozzarella strings creates a moment of pure culinary theater that is as delicious as it is photogenic.
Whether you are hosting a summer soirée or looking for a sophisticated way to sneak more greens into your diet, these savory bites deliver bold garlic flavor and a satisfying crunch. Paired with a thick, glossy red marinara and a dusting of dried oregano, they are destined to become your new favorite snack.
Why You Will Crave These Crispy Garlic Zucchini Balls
- Textural Perfection: The combination of Panko breadcrumbs and grated parmesan creates a craggy, extra-crispy exterior that stays crunchy even after cooling.
- The Molten Core: Each ball features a center of premium mozzarella that melts into luxurious strings, providing a rich contrast to the earthy zucchini.
- Aromatic Garlic Punch: Infused with both fresh minced garlic and garlic powder, these bites satisfy the deepest cravings for garlic-heavy snacks.
- Visually Stunning: The pop of green flecks against the golden crust and the deep red marinara makes this a centerpiece-worthy dish.
The Essential Components for Extra-Crispy Zucchini Balls
Fresh Zucchini: You will need 2 medium (approx. 500g) zucchini, grated coarsely to ensure those beautiful green flecks are visible in the final crust. The key is to squeeze out every drop of moisture to prevent a soggy interior.
Mozzarella Pearls: Use 8-10 small mozzarella pearls or cubes (about 1/2 inch or 1.25cm). This creates the iconic “melted white mozzarella strings” described in our visual blueprint.
Panko & Parmesan Coating: A blend of 1 cup (60g) Panko breadcrumbs and 1/2 cup (45g) freshly grated parmesan cheese. This specific duo is responsible for the toasted, craggy crust that defines the dish’s exterior.
Foundational Binders: 1 large egg and 1/4 cup (30g) of all-purpose flour act as the “glue.” These invisible ingredients ensure the balls hold their shape during the high-heat roasting or frying process.
The Flavor Trio: 3 cloves of fresh minced garlic, 1 tsp (5g) dried oregano, and 1/2 tsp (2.5g) red pepper flakes. These provide the savory depth and the signature garnishes seen on the rustic matte black plate.
Professional Tools for Perfect Shaping
To achieve the uniform look of eight golden-brown zucchini balls, a standard kitchen grater and a clean cheesecloth or lint-free kitchen towel are non-negotiable for moisture removal. A small cookie scoop (1.5 tablespoon size) helps maintain consistent sizing, ensuring all pieces cook at the same rate. Finally, a parchment-lined baking sheet or an air fryer basket is essential for preventing the delicate parmesan crust from sticking.
Step-by-Step Evolution to Golden Perfection
Preparing the Zucchini Base
Start by grating your zucchini using the large holes of a box grater. Place the shreds into a kitchen towel, sprinkle with a pinch of salt, and let sit for 10 minutes; then, use all your strength to wring out the liquid until the zucchini feels dry to the touch. This step is the difference between a mushy bite and a professional savory zucchini ball with a tender interior.
Building the Garlic and Cheese Mixture
In a large mixing bowl, combine the dried zucchini, minced garlic, one beaten egg, a handful of the parmesan, and the flour. Stir until a thick, moldable dough forms. If the mixture feels too wet, add an extra tablespoon of breadcrumbs until you can easily roll a portion into a ball without it falling apart.
Stuffing and Dredging for Maximum Crunch
Take about 2 tablespoons of the mixture and flatten it in your palm. Place a mozzarella pearl in the center and wrap the zucchini dough around it, pinching to seal. Roll the ball in the Panko-Parmesan mixture, pressing firmly so the breadcrumbs adhere to every crevice, creating that craggy, textured surface.
The Golden-Brown Transformation
Preheat your oven to 400°F (200°C) or your air fryer to 375°F (190°C). Lightly spray the balls with olive oil and bake for 15-20 minutes. Watch for the visual cue: you are looking for a deep golden-brown hue and a visible sizzle from the parmesan cheese in the crust.
Expert Secrets for Culinary Success
- The Salt-and-Squeeze Rule: Never skip salting the raw zucchini; it draws out internal water that would otherwise steam the breadcrumbs from the inside out.
- Cold Cheese Center: Keep your mozzarella pearls in the refrigerator until the very moment of stuffing to ensure they don’t melt too quickly and leak out.
- High Heat is Key: Whether baking or air frying, a high temperature is required to crisp the parmesan and mozzarella bites before the zucchini overcooks.
- Space Them Out: Do not crowd the plate or tray; airflow is what creates the “extra crispy” texture highlighted in our Midjourney prompt.
Optimal Storage and Reheating Techniques
Garlic Zucchini Balls are best enjoyed fresh to maintain the integrity of the melted center. However, you can store leftovers in an airtight container in the refrigerator for up to 3 days. To reheat, avoid the microwave, which will turn the crust soft; instead, place them in a toaster oven or air fryer at 350°F (175°C) for 5 minutes to restore the crunch.
Elevating the Experience: What to Serve Alongside
The visual blueprint specifically calls for a thick red marinara sauce, which provides a bright acidity to cut through the richness of the cheese. You might also enjoy these alongside other savory appetizers like cheesy zucchini breadsticks or even garlic butter pork bites for a full tapas-style spread. If you prefer a lighter pairing, a simple side of garlic dill cucumbers adds a refreshing contrast to the warm, toasted flavors.
Frequently Asked Questions
To make them gluten-free, simply substitute the all-purpose flour with almond flour and use certified gluten-free Panko breadcrumbs.
Yes! Air fry at 375°F (190°C) for 10-12 minutes, shaking the basket halfway through until the crust is golden-brown and crispy.
You can shape the balls up to 24 hours in advance and keep them refrigerated. For the best texture, dredge them in the Panko-Parmesan coating just before cooking.
The secret is removing as much moisture as possible. Salt the shredded zucchini to draw out water, then use a kitchen towel to wring it out until completely dry.
Mozzarella pearls or small cubes of low-moisture mozzarella provide the best ‘cheese pull.’ You can also use pepper jack for a spicy kick.
The Ultimate Garlic Zucchini Balls Recipe
[Image-3]
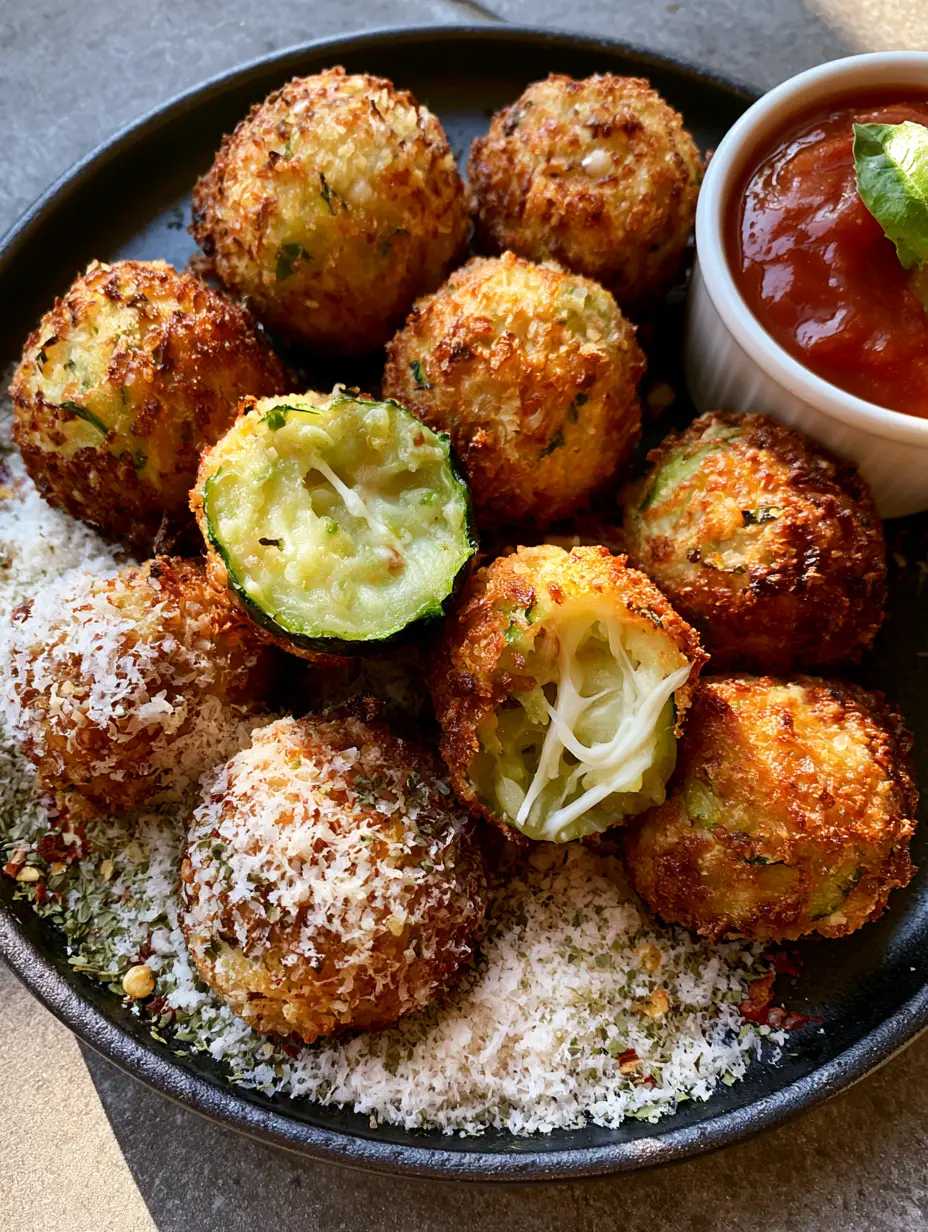
Garlic Zucchini Balls with a Melty Mozzarella Center and Crispy Parmesan Crust
Ingredients
Equipment
Method
- Grate the zucchini and place in a kitchen towel with a pinch of salt. Let sit for 10 minutes, then squeeze vigorously to remove all excess water.
- In a bowl, combine dried zucchini, egg, minced garlic, flour, and 2 tablespoons of the parmesan. Mix until a moldable dough forms.
- Scoop 2 tablespoons of mixture, flatten, and place a mozzarella pearl in the center. Seal the dough around the cheese to form a ball.
- Roll each ball in the Panko and remaining parmesan until a craggy, thick crust forms.
- Place on a baking sheet and bake at 400°F (200°C) for 15-20 minutes until the exterior is golden-brown and extra crispy.
- Arrange on a matte black plate, garnish with oregano and red pepper flakes, and serve with warm marinara.
Notes
For an even crispier crust, lightly spray the balls with olive oil before baking.
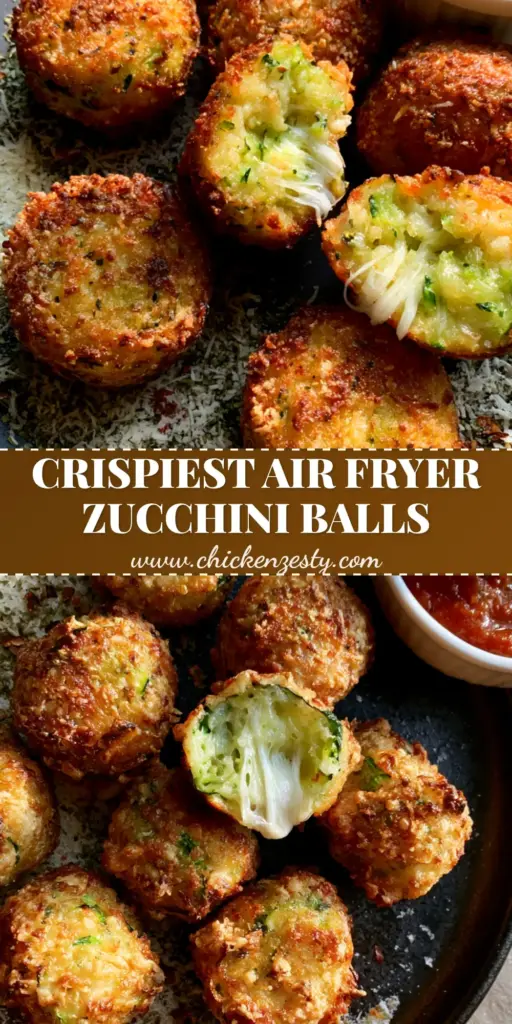
Closing Thoughts: Join the Savory Community
These Garlic Zucchini Balls are more than just a snack; they are a masterclass in balancing textures and bold flavors. We hope this recipe brings a touch of gourmet flair to your kitchen. If you enjoyed this crispy creation, please leave a comment below and share your results! For more visual inspiration and daily recipe updates, be sure to follow us on Pinterest and save this recipe to your favorite boards.