Pancakes are the undisputed champion of weekend mornings, but standing over a hot griddle flipping individual circles can feel like a chore when you have a hungry family waiting. Enter the sheet pan revolution. This recipe delivers that iconic golden-brown top and airy white crumb interior you crave, all without the tedious flipping. Whether you are hosting a brunch or just want to reclaim your Saturday morning, these oven-baked delights are the high-efficiency solution for pancake lovers everywhere.
Why You Will Love These Oven-Baked Sheet Pan Pancakes
- Zero Flipping Required: Pour the batter, bake, and relax while the oven does the heavy lifting.
- Perfectly Fluffy Texture: The high heat of the oven creates an extra-fluffy, cake-like crumb that rivals even the best classic buttermilk pancakes.
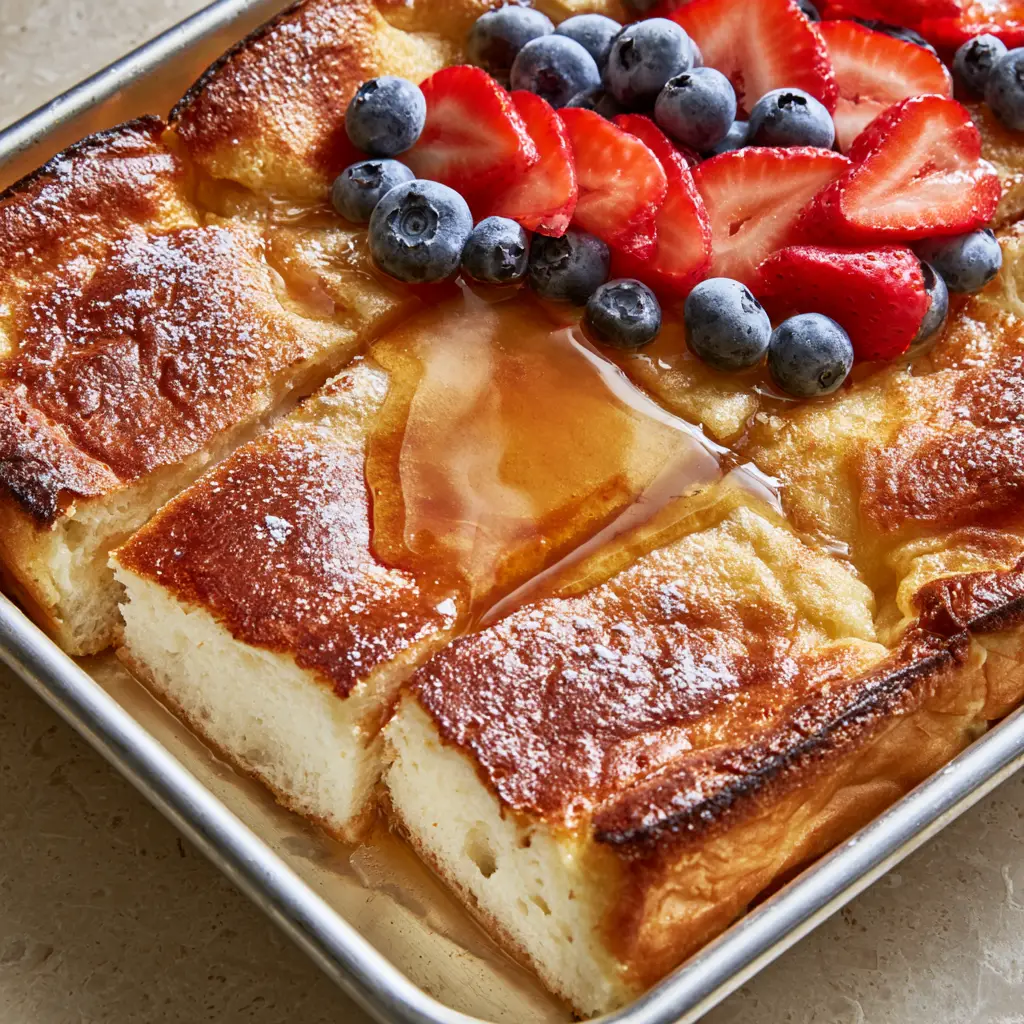
- Visual Masterpiece: With vibrant sliced fresh strawberries, plump blueberries, and a glistening amber maple syrup drizzle, this dish is a Pinterest-perfect showstopper.
- Feeds a Crowd: One baking sheet yields enough to feed the whole family at once—no more cold pancakes for the cook!
The Secret Ingredients for the Fluffiest Pancake Batter
To achieve that airy white crumb seen in our visual blueprint, we focus on high-quality leavening and moisture balance. Every ingredient serves a structural purpose to ensure your pancakes rise to perfection.
All-Purpose Flour: 3 cups (375g). This provides the essential structure. For a different twist on textures, you might also enjoy the heartiness of apple yogurt pancakes.
Baking Powder: 2 tablespoons (24g). This is a generous amount, but it is necessary to lift the heavy batter in a large sheet pan environment.
Granulated Sugar: 3 tablespoons (38g). Just enough to aid in the golden-brown caramelization of the surface without making the interior cloying.
Whole Milk: 2 ½ cups (600ml). The fat content in whole milk is vital for a tender, velvety crumb. If you prefer a nuttier profile, consider how we use fats in our butter pecan pancakes (coming soon).
Melted Butter: ½ cup (115g) unsalted butter. Butter adds flavor and ensures the edges of the pancakes get that slightly crisp, buttery finish.
Large Eggs: 2 units. These act as the binder and contribute to the “yellow-gold” richness of the batter.
Vanilla Extract: 1 tablespoon (15ml). A heavy hand with vanilla provides that nostalgic “bakery” aroma that fills your kitchen.
How to Prep the Perfect Sheet Pan
Step 1: The Foundation of Heat
Preheat your oven to 425°F (220°C). A hot oven is non-negotiable for pancakes because the initial blast of heat triggers the baking powder, creating those signature pillowy ripples and an aerated interior.
Step 2: Preparing the Silver Baking Sheet
Generously grease a 12×17 inch (30x43cm) silver rectangular baking sheet with butter. For extra security, you can line the bottom with parchment paper, but ensure the sides are buttered to allow the pancakes to climb and rise.
Mixing the Batter for Maximum Airiness
Step 3: Combine Dry Ingredients
In a large mixing bowl, whisk together your flour, baking powder, sugar, and a pinch of salt. Ensure there are no large clumps; a sifted flour will result in a more cake-like interior.
Step 4: The Wet Emulsion
In a separate jug, whisk the milk, eggs, vanilla, and cooled melted butter. Slow-pouring the butter while whisking prevents the eggs from scrambling if the butter is still warm.
Step 5: The Golden Rule of Mixing
Pour the wet ingredients into the dry. Fold gently with a spatula until just combined. A few small lumps are perfectly fine! Over-mixing will develop gluten, turning your fluffy pancakes into something tough and rubbery.
Baking to Golden-Brown Perfection
Step 6: Pour and Level
Pour the thick batter onto your prepared silver baking sheet. Use an offset spatula to spread it into the corners. The surface should have subtle ripples which will bake into a beautiful landscape of golden-brown peaks.
Step 7: The Bake Cycle
Slide the tray into the center rack. Bake for 15–18 minutes. You are looking for the edges to pull away slightly from the pan and the top to achieve an even, perfect golden-brown hue.
The Finishing Touches: Fruit and Syrup
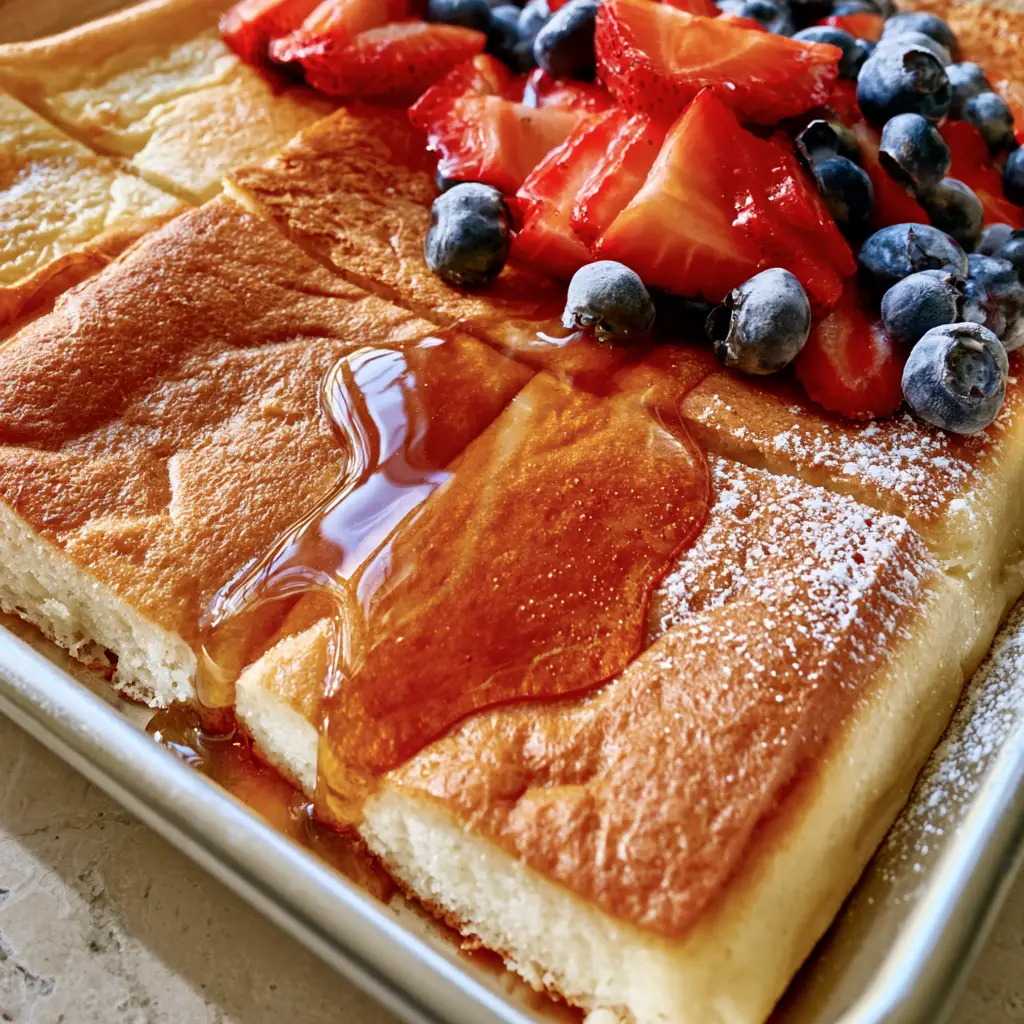
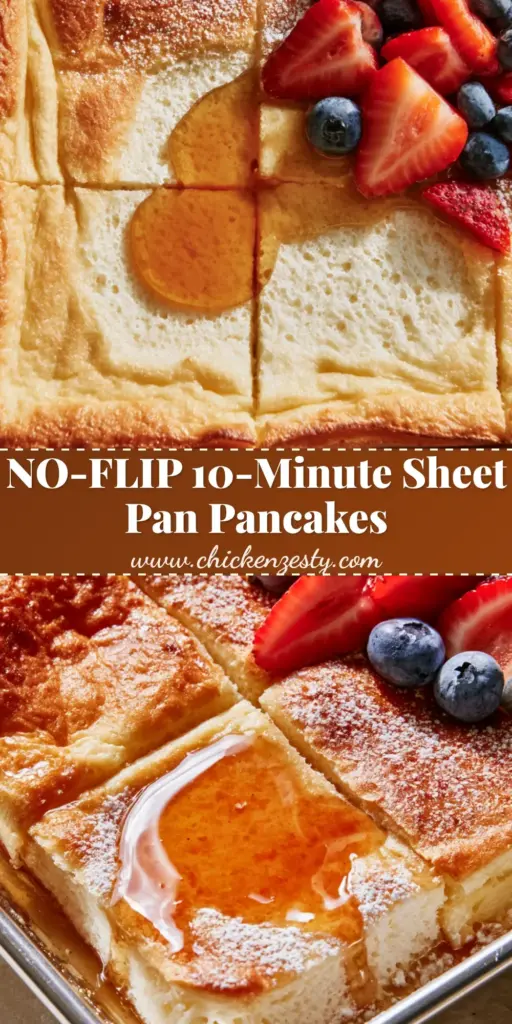
Once the pancakes are just out of the oven, it is time to transform them into the visual masterpiece described in our blueprint. Use a sharp knife to slice the sheet into clean squares, revealing the white, aerated interior.
Top the center squares with thinly sliced red strawberries and a scattering of plump blueberries. The residual heat from the pancakes will slightly soften the fruit, releasing their natural juices.
Finally, perform a heavy drizzle of translucent, viscous amber maple syrup over the center. The syrup should glisten under your kitchen lights, soaking into the airy crumb. Finish with a fine dusting of white powdered sugar for that professional touch.
Expert Tips for Pancake Success
- Room Temperature Ingredients: Ensure your milk and eggs are not ice-cold. This prevents the melted butter from re-solidifying into chunks in the batter.
- Do Not Peek: Keep the oven door closed for the first 12 minutes to maintain the steam necessary for the airy white crumb.
- The Pan Matters: Use a silver rectangular baking sheet. Dark pans absorb more heat and may brown the bottom of your pancakes too quickly before the center is done.
- Fresh Berries Only: While frozen berries work, fresh strawberries and blueberries provide the vibrant color and firm texture essential for the Pinterest aesthetic.
Storage, Reheating, and Freezing
If you have leftovers (though unlikely!), these pancakes store beautifully. Place the squares in an airtight container in the fridge for up to 3 days. To reheat, pop them in a toaster oven at 350°F (175°C) to restore the golden-brown exterior crispness.
For long-term storage, flash-freeze the squares on a tray for an hour, then transfer them to a freezer bag. They make a great quick breakfast, much like our easy breakfast muffins (coming soon).
What to Serve With Sheet Pan Pancakes
These pancakes are a complete meal on their own, but they pair excellently with savory sides. Consider serving them alongside crispy bacon or breakfast sausage to balance the sweetness of the amber maple syrup.
If you are looking for more breakfast inspiration that breaks the mold, try our mini German pancakes for a fun, puffy alternative.
Frequently Asked Questions
It is best to bake the batter immediately after mixing so the baking powder is at its most active, ensuring the fluffiest possible texture.
Yes, but be aware that frozen berries may bleed color into the batter and release more moisture, which could slightly affect the airy crumb texture.
Use a light-colored silver baking sheet rather than a dark non-stick one, as dark pans absorb heat too quickly and can scorch the bottom.
This usually happens if your baking powder is expired or if the batter was over-mixed, which knocks out the air bubbles needed for lift.
The Best Ever Fluffy Sheet Pan Pancakes
Pancakes for a Crowd: The Ultimate Fluffy Sheet Pan Pancake Recipe
Ingredients
Equipment
Method
- Preheat your oven to 425°F (220°C). Butter a 12x17 inch silver baking sheet.
- In a large bowl, whisk together flour, baking powder, sugar, and salt.
- In another bowl, whisk milk, eggs, melted butter, and vanilla until smooth.
- Pour wet into dry ingredients and fold gently until just combined. Do not overmix.
- Pour batter onto the sheet pan and spread evenly to the edges.
- Bake for 15-18 minutes until the top is golden-brown and the center is springy.
- Slice into squares. Top with sliced strawberries, blueberries, maple syrup drizzle, and powdered sugar.
Notes
Do not overmix the batter to keep the crumb airy and light.
Save This Recipe to Pinterest!
Did you love these fluffy sheet pan pancakes? Don’t lose the recipe! Pin this to your Breakfast Ideas or Brunch Recipes board on Pinterest so you can find it every weekend. If you made this, please leave a 5-star rating in the recipe card above and share a photo of your results in the comments below—we love seeing your golden-brown creations!
For more delicious morning treats, follow savory_vale for daily kitchen inspiration!