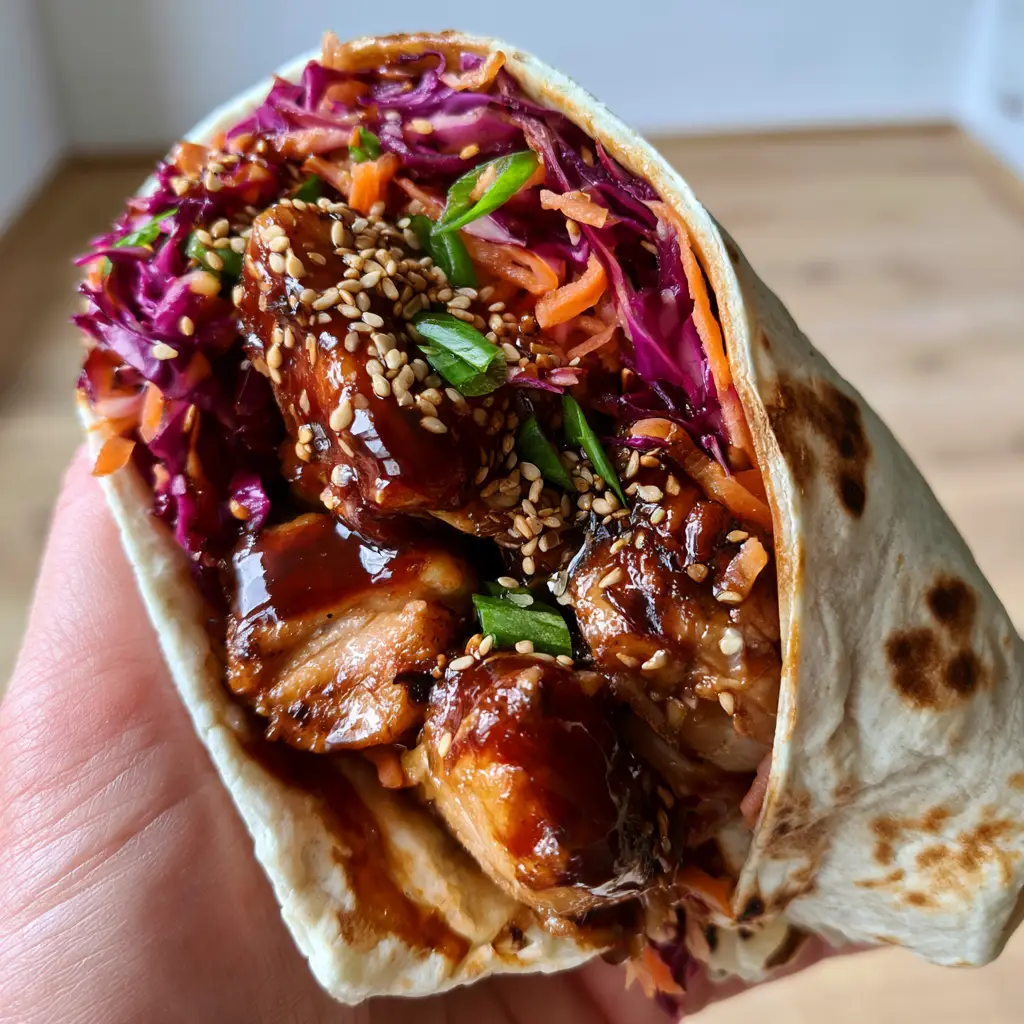
This Teriyaki Chicken Wrap is the ultimate solution for anyone craving a restaurant-quality meal that takes less than 30 minutes to prepare. Imagine juicy, pan-seared chicken thighs drenched in a thick mahogany teriyaki glaze, tucked into a toasted flour tortilla with perfect char marks. The contrast between the warm, savory chicken and the vibrant, crunchy slaw of shredded purple cabbage and julienned carrots makes this Teriyaki Chicken Wrap a viral sensation waiting to happen on your Pinterest board. Whether you are meal prepping for the week or looking for a quick weeknight dinner, this recipe delivers on flavor, texture, and visual appeal.
Why This Teriyaki Chicken Wrap Recipe Works
- Textural Perfection: The combination of tender, glossy chicken thighs and raw, crunchy purple cabbage creates a satisfying mouthfeel in every bite.
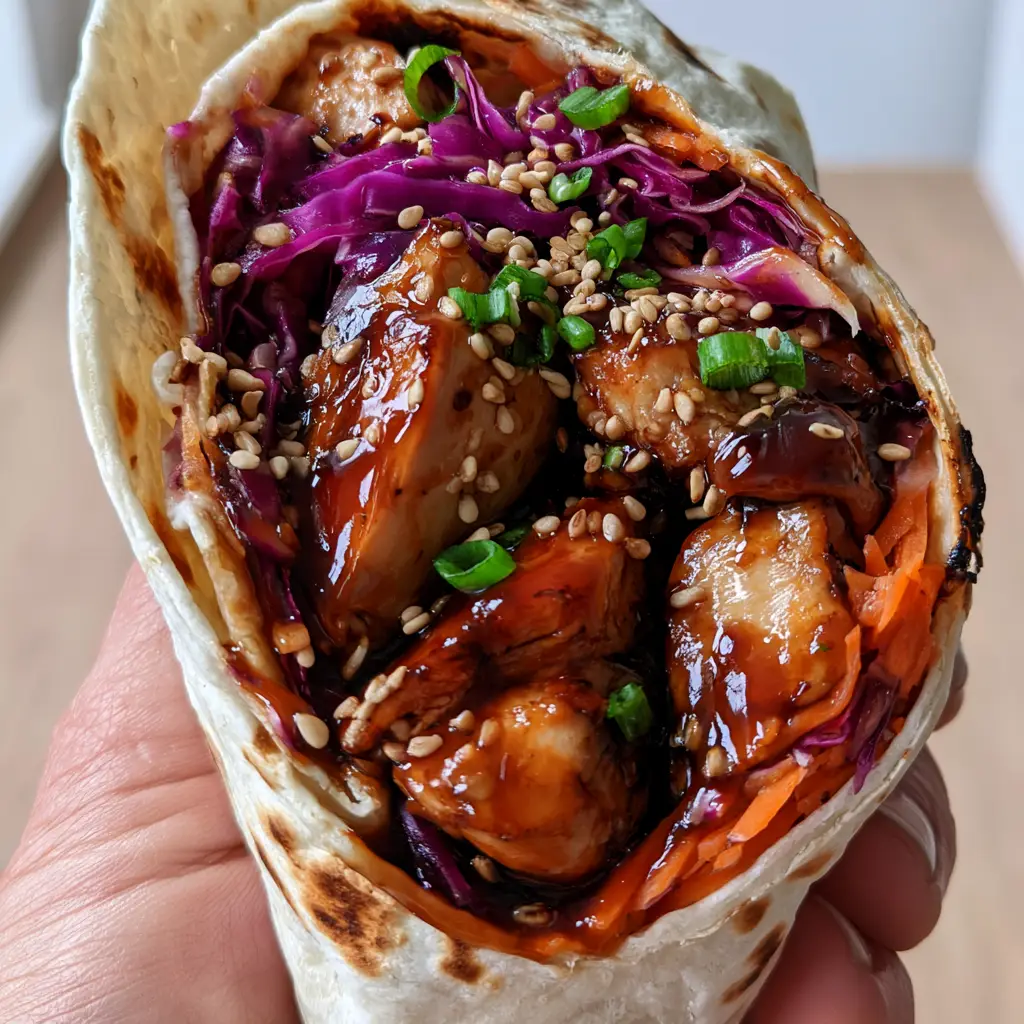
- Visual Brilliance: The deep mahogany sauce against the bright orange carrots and purple cabbage makes this dish look as good as it tastes.
- Customizable Heat: While the base recipe is family-friendly, it is incredibly easy to spice up with a drizzle of Sriracha or extra ginger.
- Meal Prep Friendly: You can prep the components ahead of time and assemble them in seconds for a fresh, non-soggy lunch.
If you love these bold Asian-inspired flavors, you should also check out my recipe for Teriyaki Chicken with Broccoli or my sweet and savory Huli Huli Chicken.
The Essential Ingredients for a Mahogany Glaze
Creating the perfect Teriyaki Chicken Wrap starts with high-quality ingredients. Unlike store-bought versions that can be thin and watery, our goal is a glaze that clings to the chicken like a velvet blanket.
The Protein: Why Thighs are King
1.5 lbs (680g) Chicken Thighs: We are using boneless, skinless chicken thighs cut into 1-inch chunks. Thighs contain more fat than breasts, which means they stay incredibly juicy during the high-heat searing process and don’t dry out when tossed in the glaze.
The Signature Teriyaki Glaze
1/2 cup (120ml) Soy Sauce: This provides the salty, umami base for our Teriyaki Chicken Wrap. Use tamari for a gluten-free option.
1/4 cup (50g) Brown Sugar: The molasses in the brown sugar is the secret to achieving that dark mahogany color and a sticky consistency.
1 tbsp (15ml) Rice Vinegar: A touch of acidity balances the sweetness of the sugar and the richness of the chicken.
1 tsp (5g) Fresh Ginger & 2 cloves Garlic: Fresh aromatics are non-negotiable for that authentic, punchy flavor profile.
The Crunchy Slaw Elements
2 cups (140g) Purple Cabbage: Shredded raw purple cabbage provides a massive crunch and a beautiful color pop that looks stunning in a diagonal slice.
1 cup (128g) Julienned Carrots: These add a natural sweetness and a rigid texture that holds up against the sauce.
Fresh Cilantro Leaves: A handful of cilantro adds a burst of herbal freshness that cuts through the savory glaze.
The Wrap and Garnish
4 Large Flour Tortillas: Look for soft, pliable tortillas that can handle being toasted to achieve those signature golden brown char spots.
Toasted White Sesame Seeds & Scallions: A heavy sprinkle of seeds and finely sliced green onions adds the final layer of professional garnish and nutty flavor.
Step-by-Step Instructions for the Perfect Wrap
Step 1: Achieving the Perfect Sear
Pat your chicken thigh chunks dry with a paper towel. This is crucial! Moisture is the enemy of a good sear. Heat 1 tbsp (15ml) of neutral oil in a large skillet over medium-high heat. Add the chicken in a single layer. Do not crowd the pan.
Let the chicken sit undisturbed for 3-4 minutes until a golden-brown crust forms. Flip and cook for another 3 minutes. The chicken should be nearly cooked through and smelling incredible.
Step 2: Building the Mahogany Glaze
In a small bowl, whisk together the soy sauce, brown sugar, rice vinegar, minced ginger, and garlic. Pour the mixture directly into the skillet with the chicken. The liquid will immediately begin to bubble and hiss.
Reduce the heat to medium and stir constantly. Within 2-3 minutes, the sugars will caramelize, and the sauce will reduce into a thick, glossy, dark mahogany glaze that coats every piece of chicken. If you prefer a thicker sauce, you can add a small cornstarch slurry (1 tsp cornstarch mixed with 1 tsp water), but usually, a natural reduction is best.
Step 3: Toasting the Tortillas
While the chicken rests, place your flour tortillas directly over a low gas flame for 10-15 seconds per side, or use a dry cast-iron skillet. You are looking for those distinctive char marks that provide a subtle smoky flavor and prevent the wrap from tasting like raw dough. Much like my Chicken Wonton Tacos, the shell’s texture is everything.
Step 4: The Art of Assembly
Lay a toasted tortilla flat. Place a generous mound of shredded purple cabbage and julienned carrots in the center. Top with a heavy portion of the glazed chicken thighs. Don’t be afraid to drizzle extra sauce from the pan over the veggies!
Finish with a heavy sprinkle of toasted white sesame seeds, finely sliced green scallions, and fresh cilantro leaves. Fold the sides in and roll tightly.
Expert Tips for Success
- Temperature Control: If the sauce reduces too quickly and starts to smell burnt, add a tablespoon of water immediately to loosen it up.
- Knife Skills: For the best Pinterest-worthy look, julienne your carrots as thinly as possible. This ensures they soften slightly from the heat of the chicken but keep their “snap.”
- The Resting Period: Let the glazed chicken sit for 2 minutes before assembling. This allows the sauce to set and prevents it from immediately soaking into the tortilla.
- Diagonal Slicing: Always slice your Teriyaki Chicken Wrap at a sharp diagonal. This reveals the beautiful internal layers of purple, orange, green, and mahogany.
If you’re looking for more ways to use these flavors, try my Easy Teriyaki Pork or even a Honey Garlic Beef Bowl for a different protein twist.
Storage, Reheating & Freezing
Storage: Keep the chicken and the slaw in separate airtight containers in the refrigerator for up to 4 days. Storing them together will cause the cabbage to wilt and the tortilla to get soggy.
Reheating: Warm the chicken in a skillet over medium heat with a splash of water to revive the glaze. Microwave is okay, but the skillet maintains the “pan-seared” texture.
Freezing: The glazed chicken thighs freeze beautifully! Store in a freezer-safe bag for up to 3 months. The slaw and tortillas should be prepared fresh for the best experience.
What to Serve With This Teriyaki Chicken Wrap
This wrap is a complete meal on its own, but it pairs wonderfully with a side of crispy edamame, a light cucumber salad, or even some crispy Bang Bang chicken bites for a full fusion feast. If you want a heavier side, a small scoop of steamed jasmine rice works perfectly.
Frequently Asked Questions
For meal prep, store the glazed chicken and the slaw separately. Assemble the wrap just before eating to prevent the tortilla from becoming soggy.
Yes, you can use chicken breast, but be careful not to overcook it. Breast meat dries out faster than thighs. Cut them into smaller pieces and sear quickly to keep them tender.
The best way is to let the sauce simmer and reduce naturally with the chicken. If it’s still too thin, whisk 1 tsp of cornstarch with 1 tsp of water and stir it into the simmering sauce.
As written, this recipe is mild and sweet. To add heat, add 1/2 tsp of red pepper flakes to the sauce or drizzle the finished wrap with Sriracha mayo.
Place the flour tortilla directly over a medium-low gas burner flame for 10 seconds per side using tongs, or use a very hot, dry cast-iron skillet until dark spots appear.
Ready to Make the Ultimate Teriyaki Chicken Wrap?
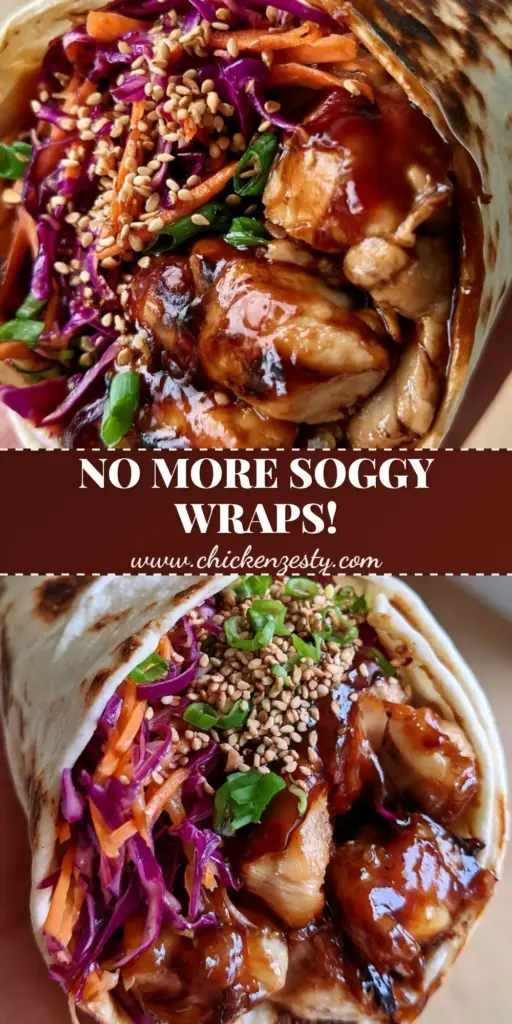
Teriyaki Chicken Wrap: The Ultimate 20-Minute Crunchy Lunch
Ingredients
Equipment
Method
- Heat oil in skillet and sear chicken chunks until golden brown on all sides.
- Add the sauce mixture and simmer until it becomes a thick mahogany glaze.
- Layer chicken, cabbage, and carrots on charred tortillas, then garnish and wrap.
Notes
Char the tortillas over an open flame for best flavor.
Show Off Your Creation!
Did you make these Teriyaki Chicken Wraps? I want to see! Save this recipe to your Lunch Ideas or Easy Dinners board on Pinterest so you never lose it. Follow @savory_vale for more viral-worthy recipes that actually taste as good as they look.
Leave a 5-star rating in the comments below and upload a photo of your wrap—I love seeing those perfect char marks and mahogany glazes!