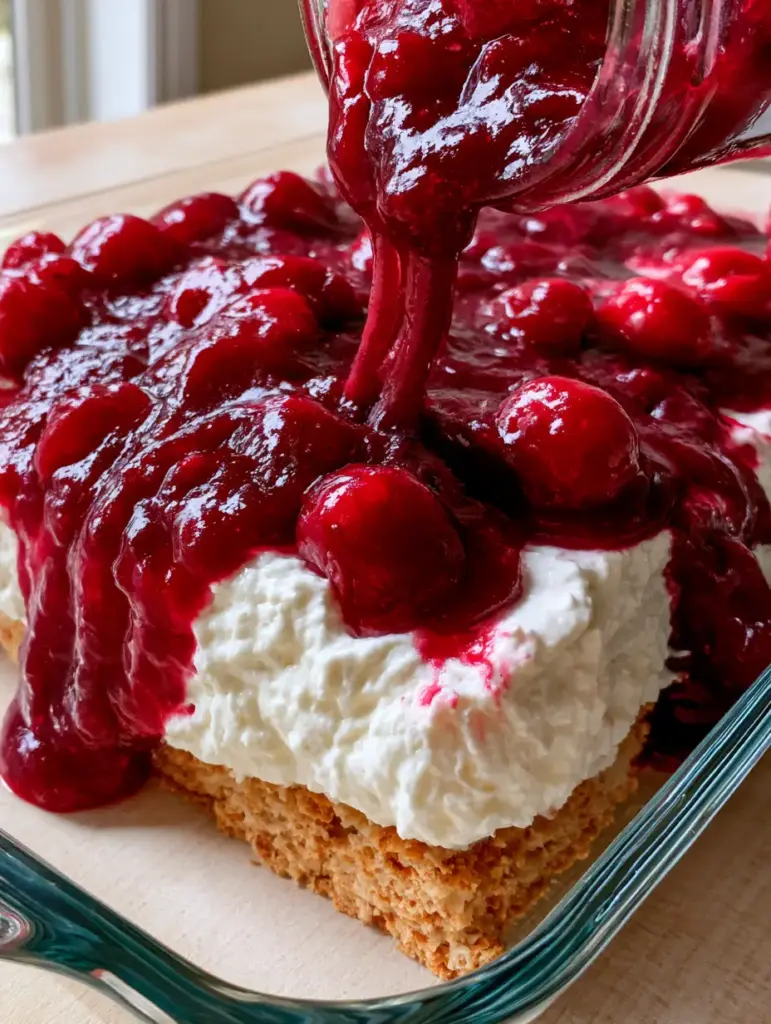
This cherry cream cheese dessert is the show-stopping finale your dinner table has been waiting for. Imagine a thick, glossy, deep red cherry sauce cascading over a cloud-like layer of whipped cream cheese, all resting on a foundation of buttery graham cracker crumbs.
It is the perfect marriage of textures: the crunch of the golden crust, the velvety smoothness of the filling, and the viscous pop of whole pitted cherries. Whether you are hosting a summer backyard bash or looking for a comforting weeknight treat, this recipe delivers professional results with home-kitchen ease.
Inspired by the rustic elegance of a well-loved kitchen, this dish focuses on high-quality ingredients and sensory appeal. From the gentle highlight on the velvety cream to the handheld, authentic vibe of the presentation, every bite feels like a celebration of simple, honest flavors.
The Irresistible Appeal of This Layered Cherry Masterpiece
- Textural Harmony: A perfectly pressed, golden-brown foundation provides a sturdy, buttery crunch that contrasts beautifully with the airy filling.
- Visual Brilliance: The glossy cherry pie filling creates a deep, vibrant red topping that looks as if it were plucked from a professional pastry case.
- Balanced Flavors: Salted butter in the crust cuts through the sweetness of the powdered sugar and the tartness of the cherries for a perfectly balanced profile.
- Effortless Elegance: Despite its complex appearance, the technique is straightforward, making it accessible for any enthusiastic home cook.
The Anatomy of the Perfect Golden Graham Foundation
To achieve the “perfectly pressed foundation” seen in our visual blueprint, we must focus on the ratio of crumbs to fat. We use 1.5 cups (150g) of finely crushed graham cracker crumbs mixed with 6 tbsp (85g) of melted salted butter.
The salted butter is a “foundational invisible ingredient” that provides the necessary structural integrity and a savory note to balance the sugar. When pressing the crumbs into your clear glass dish, use the bottom of a measuring cup to ensure an even, compact layer that won’t crumble when sliced.
If you love the flavor profile of a solid crust, you might also enjoy our decadent s’more bars which feature a similar buttery base. For this cherry version, a quick 10-minute bake at 350°F (175°C) sets the crust, though it can remain entirely no-bake if you prefer a softer bite.
Crafting the Fluffiest Whipped Cream Cheese Filling
The heart of this cherry cream cheese dessert is the “whipped white cream cheese filling” that acts as a velvety cushion for the fruit. We start with 16 oz (450g) of full-fat cream cheese, softened to room temperature to ensure a lump-free consistency.
To this, we add 1 cup (120g) of sifted powdered sugar and 1 tsp (5ml) of pure vanilla extract. The powdered sugar contains a hint of cornstarch, which helps stabilize the filling, while the vanilla provides that classic “home kitchen” aroma.
For the ultimate “fluffy” texture described in the Midjourney prompt, we fold in 8 oz (225g) of whipped topping or stabilized whipped cream. This aeration is what creates those gentle highlights and the light-as-air mouthfeel that contrasts with the rich cherries.
The Science of the Glossy Cherry Topping
The “glossy cherry pie filling” is more than just a topping; it is a viscous, rich glaze that defines the visual character of the dish. We use 21 oz (600g) of premium pie filling containing whole pitted cherries.
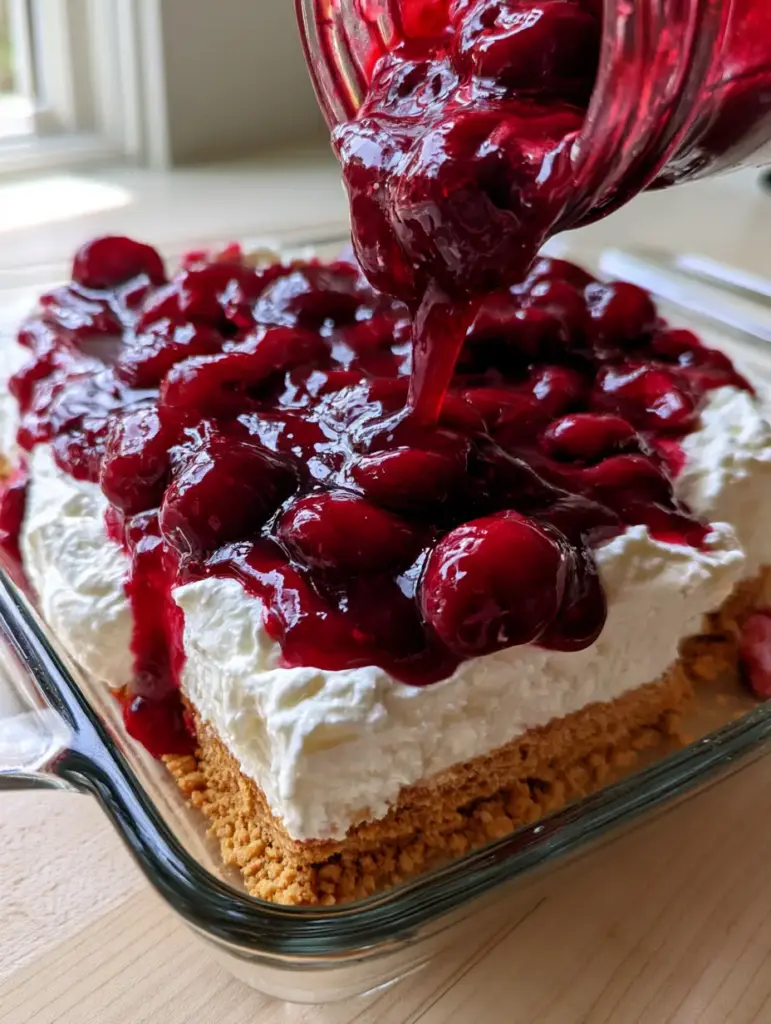
To elevate the store-bought filling, we recommend adding a tiny squeeze of lemon juice to brighten the red hue and sharpen the fruit flavor. When you pour the sauce from a glass jar, aim for a slow, deliberate motion to create the “action shot” look where the glaze pools naturally over the white cream.
If you find yourself craving more fruit-forward treats after this, check out our blueberry cream cheese bars for a different take on the cream cheese and fruit pairing. The viscosity of the cherry glaze is key—it should be thick enough to hold its shape but fluid enough to glisten in the light.
Essential Equipment for a Professional Finish
To achieve the “clean, rustic, and incredibly appetizing” look, you don’t need fancy gadgets, but the right tools make a difference. A 9×13 inch (23x33cm) clear glass rectangular dish is essential for revealing those beautiful layers.
A stand mixer or high-powered hand mixer is required to whip the cream cheese until it reaches a velvety, smooth state. An offset spatula is your best friend for spreading the white filling into an even layer without disturbing the graham cracker base.
Finally, a sharp knife dipped in warm water between cuts will ensure your slices look as perfect as the ones in our smartphone photo style. For more inspiration on great hosting dishes, see our guide to essential summer dinner recipes.
Step-by-Step Instructions for the Perfect Layered Dessert
Preparing the Golden-Brown Crust
Start by preheating your oven to 350°F (175°C) if you choose the toasted method. Combine the 1.5 cups (150g) of graham cracker crumbs with the 6 tbsp (85g) of melted salted butter in a medium bowl.
Stir until the mixture feels like wet sand. Press it firmly into the bottom of your clear glass dish using a flat-bottomed object. Bake for 8-10 minutes until the edges are just turning golden-brown and a nutty aroma fills the air. Let it cool completely before adding the filling.
Whipping the Velvety Cream Layer
In a large bowl, beat the 16 oz (450g) of softened cream cheese until smooth and creamy. Add the 1 cup (120g) of powdered sugar and 1 tsp (5ml) of vanilla extract, continuing to beat until no lumps remain.
Gently fold in your 8 oz (225g) of whipped topping using a silicone spatula. The visual cue here is a “cloud-like” appearance; you want to maintain the airiness without over-mixing, which could cause the filling to become runny.
The Pour: Adding the Glossy Cherry Glaze
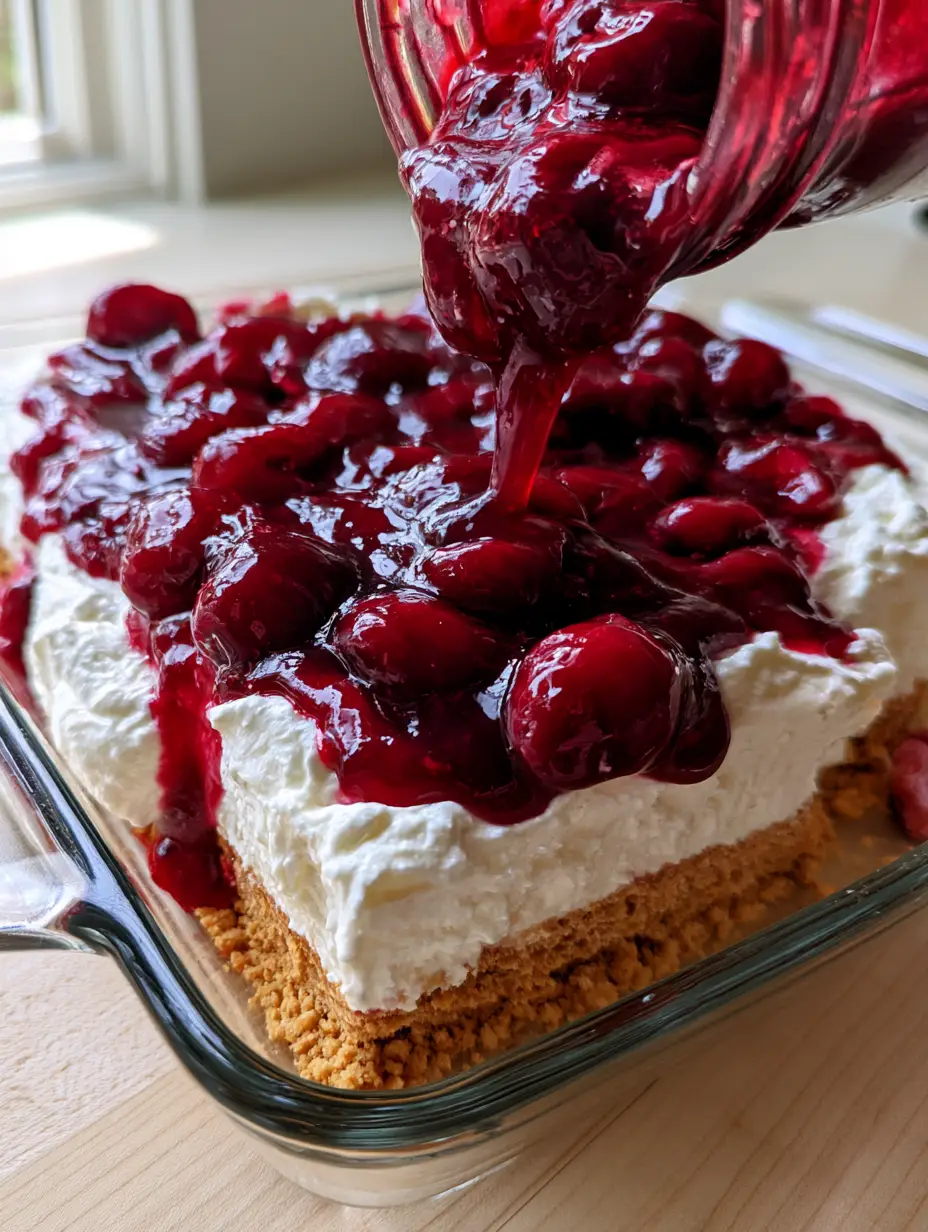
Once the cream layer is spread evenly over the cooled crust, it is time for the final touch. Take your 21 oz (600g) of cherry pie filling and, using a glass jar or spoon, pour it over the center of the dessert.
Allow the viscous sauce to spread toward the edges naturally. Use the back of a spoon to gently nudge the whole pitted cherries so they are evenly distributed across the surface, ensuring a “glistening” effect under the light.
Garnish and Chill
Finish the dish with a sprig of fresh mint garnish for a pop of green against the deep red cherries. Refrigerate for at least 4 hours, or ideally overnight. This allows the graham cracker base to soften slightly while the cream cheese layer firms up, making it easier to serve.
Expert Tips for Culinary Success
- Temperature Control: Ensure your cream cheese is truly room temperature (about 70°F or 21°C). Cold cream cheese will result in tiny white lumps that ruin the “velvety” visual.
- Sift Your Sugar: Always sift powdered sugar before adding it to the filling. This prevents grains and ensures a perfectly smooth mouthfeel.
- The Clean Cut: To get those distinct layers seen in the clear glass dish, wipe your knife clean and re-dip it in warm water after every single slice.
- Stability: If you are using real whipped cream instead of topping, add a stabilizer or ensure it is whipped to very stiff peaks to support the weight of the cherries.
Storage, Reheating, and Make-Ahead Advice
This cherry cream cheese dessert is the ultimate make-ahead recipe. In fact, it tastes better after 24 hours in the refrigerator as the flavors meld together. Store it covered with plastic wrap or a tight-fitting lid for up to 5 days.
We do not recommend freezing this dessert, as the cream cheese filling may change texture upon thawing, becoming grainy. If you have leftovers, they remain delicious, though the crust will gradually soften the longer it sits against the cream.
For more make-ahead party snacks that pair well with sweet treats, try our peach cobbler cookies which offer a similar fruit-and-crust experience in a portable form.
What to Serve With This Decadent Dessert
This dessert is rich and creamy, so it pairs best with items that offer a bit of contrast. A cup of strong dark roast coffee or a glass of cold milk is the traditional choice for a home kitchen vibe.
If you are serving this at a larger gathering, it works beautifully alongside savory appetizers like our chicken caesar pasta salad or for a spicy kick, try our southern fire crackers. The heat from the crackers followed by the cool, creamy cherry dessert is a sensory experience your guests won’t forget.
Frequently Asked Questions
Yes, this dessert is actually better when made 24 hours in advance. This allows the layers to set properly and the crust to achieve the perfect texture for slicing.
You can, but you will need to cook them down with sugar and a cornstarch slurry to achieve the thick, glossy, viscous consistency required for this specific recipe.
Ensure you use the full 6 tablespoons of melted butter and press the mixture firmly into the dish with the flat bottom of a cup to create a solid foundation.
Adding a teaspoon of lemon juice to the pie filling not only brightens the flavor but also helps the glaze catch the light for that ‘glistening’ visual effect.
Lumps occur if the cream cheese is too cold when you start mixing. Ensure it is softened to room temperature (70°F/21°C) before beating it with the sugar.
The Ultimate Cherry Cream Cheese Dessert Recipe Card
Cherry Cream Cheese Dessert: The Ultimate No-Bake Layered Delight
Ingredients
Equipment
Method
- In a medium bowl, combine graham cracker crumbs and melted salted butter. Press firmly into the bottom of a 9x13 dish.
- Bake at 350°F (175°C) for 10 minutes for a toasted finish, or chill for 30 minutes for a pure no-bake version.
- Whip softened cream cheese, powdered sugar, and vanilla until velvety smooth with no lumps.
- Gently fold in the whipped topping until the mixture is fluffy and white. Spread evenly over the cooled crust.
- Pour the glossy cherry pie filling over the cream layer, spreading carefully to the edges. Garnish with mint.
- Chill for at least 4 hours to allow the dessert to set for clean slicing.
Notes
Dip your knife in warm water between cuts for professional, clean-layered slices.
Closing & Call to Action
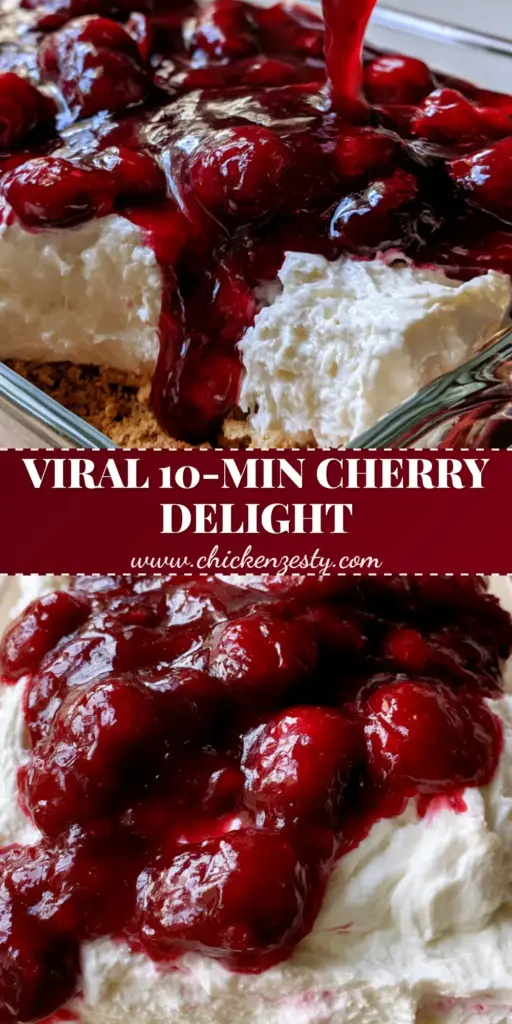
This cherry cream cheese dessert is more than just a recipe; it is a centerpiece that brings people together. With its glossy red topping, fluffy white filling, and golden buttery crust, it hits every mark of a classic, high-quality home-cooked treat.
We would love to see your results! Did your cherry glaze glisten in the light? Did you nail the perfect crust-to-cream ratio? Leave a comment below and let us know your favorite way to serve this layered delight.
Don’t forget to save this recipe to your “Dessert Goals” board on Pinterest and sign up for our newsletter for more elite recipes delivered straight to your inbox!