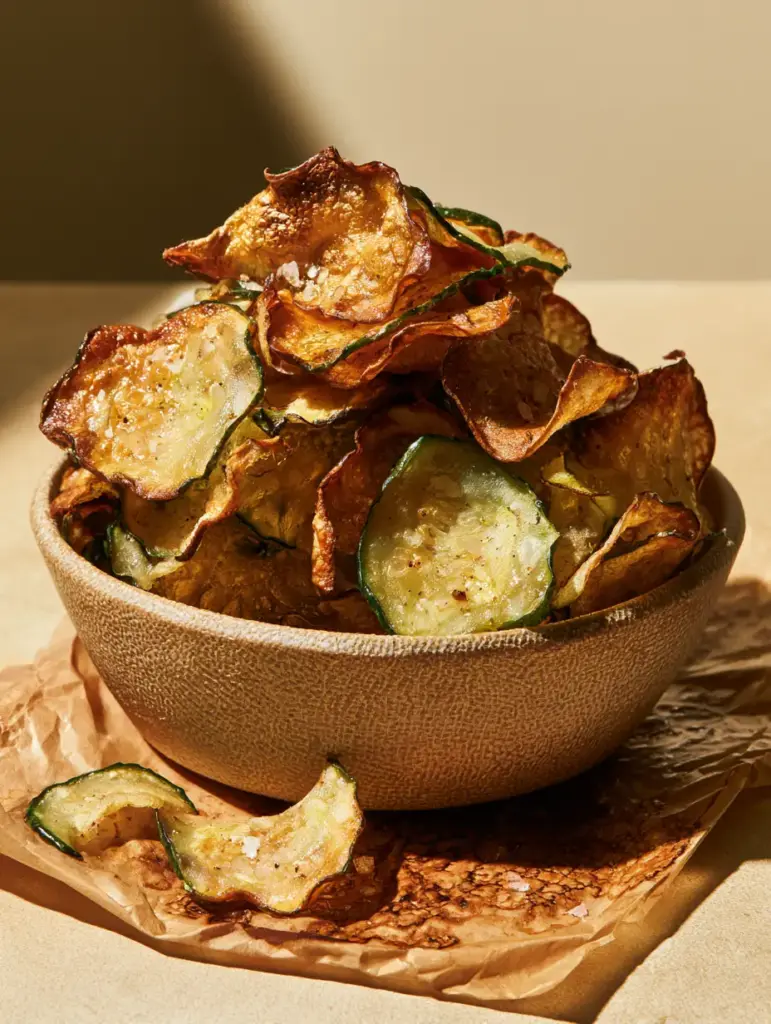
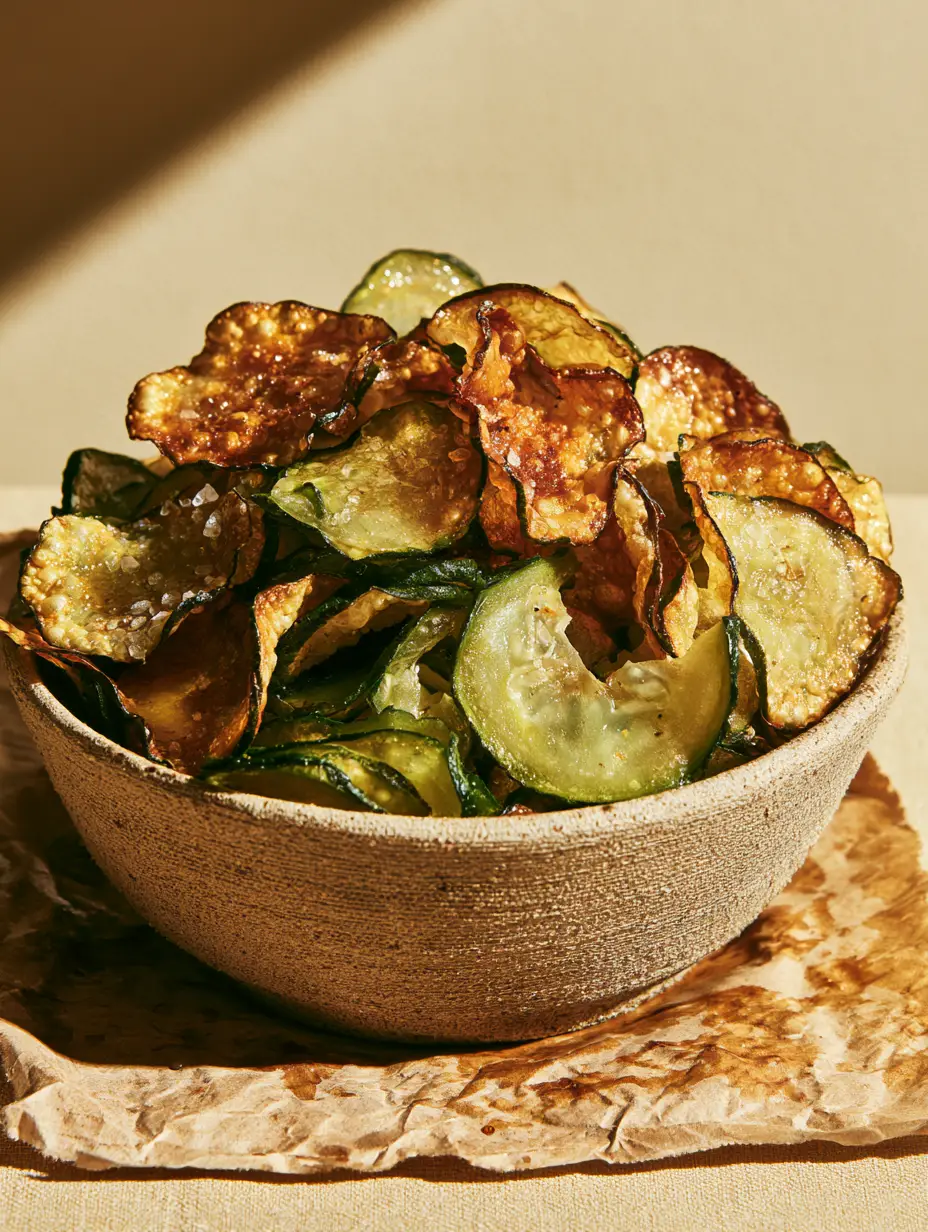
There is a specific, audible “snap” that defines the perfect snack. When you hold one of these oven baked cucumber chips up to the light, the center should be a translucent, ghostly green, while the edges possess a deep, ruffled golden-brown hue. It is a culinary transformation that seems almost impossible—turning a vegetable that is 95% water into a brittle, glass-like chip that shatters on impact. If you have been searching for a low-carb alternative to potato chips that doesn’t sacrifice that satisfying crunch, you have arrived at the definitive guide.
This isn’t just another “healthy” substitute; it is a gourmet experience. We are capturing the essence of a garden-fresh cucumber and concentrating its flavor through slow-roasting. The addition of a light vinegar glaze creates a shimmering surface that catches coarse sea salt crystals and cracked black pepper perfectly. Whether you are following a keto lifestyle or simply want a sophisticated snack to serve in a rustic ceramic bowl, these chips are a visual and textural masterpiece.
Drawing from the precision of culinary forensics, we have mastered the technique to ensure your chips don’t turn into soggy slices. We focus on moisture extraction and controlled Maillard reaction at low temperatures. The result is a mountain of ultra-thin, curled chips that look as beautiful on grease-stained parchment paper as they do on a high-end appetizer platter.
The Science of the Snap: Why These Oven Baked Cucumber Chips Work
Achieving a brittle texture with cucumbers requires more than just heat; it requires an understanding of cellular structure. Because cucumbers are primarily water, we must use osmosis to our advantage before the tray even enters the oven. By pre-salting the slices, we draw out the “free water,” allowing the “bound water” to evaporate more efficiently during the baking process.
The “ruffled” look you see in professional culinary photography isn’t accidental. As the moisture leaves the paper-thin slices, the cell walls collapse and contract at different rates. This creates those beautiful, curled edges that provide extra surface area for seasonings to cling to. It is the same principle used when making crispy zucchini chips, but with a lighter, more refreshing flavor profile.
To get that high-end aesthetic, we focus on the “shimmer.” A traditional liquid soak often makes vegetable chips soggy. Instead, we apply a concentrated vinegar glaze mid-way through the baking process. This ensures the acidity is present without compromising the structural integrity of the brittle chip. It’s a technique often used in creating savory garlic snacks to ensure the flavor is baked into the chip, not just sitting on top.
Essential Components for Brittle, Golden-Brown Results
Every ingredient in this recipe serves a structural or chemical purpose. While the cucumber is the star, the supporting cast ensures the final product is edible, shelf-stable, and visually stunning. We avoid unnecessary fillers, focusing on high-quality pantry staples that elevate the humble cucumber.
- English (Hothouse) Cucumbers: Use 2 large (approx. 600g) cucumbers. These are preferred over standard wax cucumbers because they have fewer seeds and a thinner skin, which leads to a more uniform, translucent center.
- Extra Virgin Olive Oil: 1.5 tbsp (22ml). A light coating is essential to facilitate the golden-brown curling of the edges; without fat, the chips will simply dry out and look grey rather than toasted.
- Apple Cider Vinegar: 2 tbsp (30ml). This forms the base of our glaze, providing that “shimmer” and a sharp tang that cuts through the earthy cucumber flavor.
- Coarse Sea Salt: 1 tsp (6g). The large crystal size is crucial for visual appeal, as seen in our savory snack mixes, providing a burst of flavor without dissolving into the chip.
- Freshly Cracked Black Pepper: 1/2 tsp (2g). Fine pepper disappears, but cracked pepper provides those beautiful dark flecks that contrast against the green and gold.
- Optional Finishing Dust: A pinch of garlic powder or smoked paprika can add depth, similar to the profile of smoky snack blends.
The Professional Toolset for Paper-Thin Precision
You cannot achieve the required “translucent” center by hand-cutting with a chef’s knife unless you have the skills of a Michelin-starred sushi chef. To get these chips thin enough to become brittle, specific tools are required. Using the right equipment also ensures even cooking, preventing some chips from burning while others remain soft.
The Mandoline Slicer: This is non-negotiable. Set your mandoline to 1/16th of an inch (1.5mm). This thickness allows the cucumber to dehydrate fully into a “chip” rather than a “disc.” If you’re also making zucchini-based appetizers, a mandoline is a worthy investment for your kitchen arsenal.
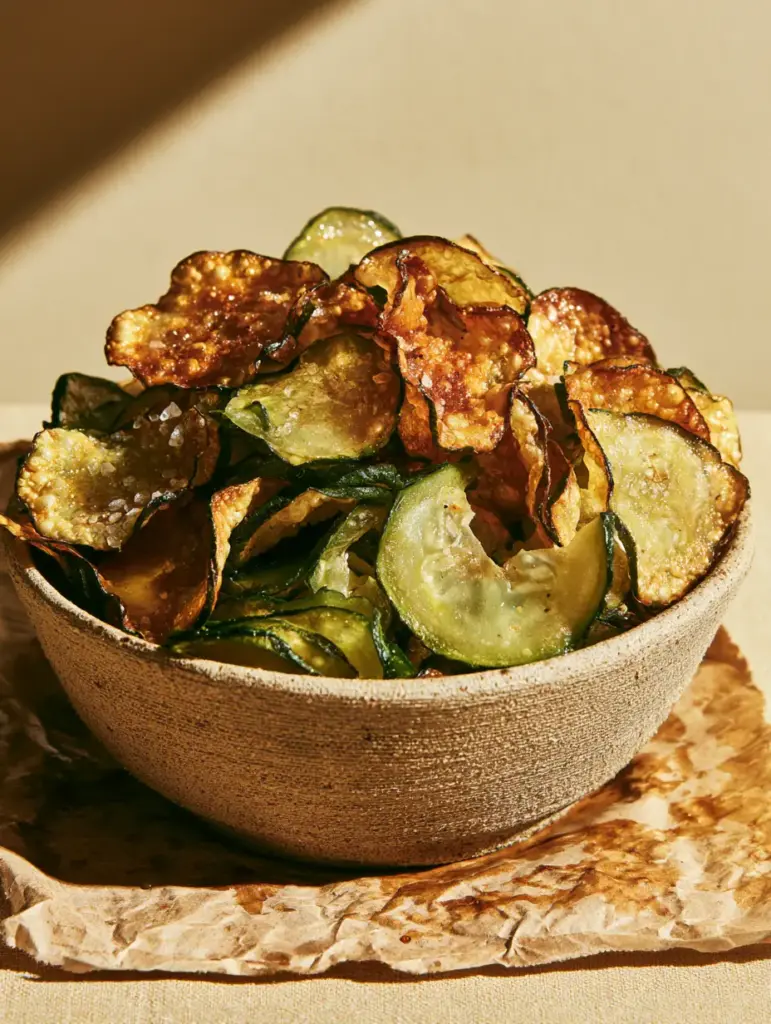
Crumpled Parchment Paper: We specifically use crumpled brown parchment paper. By crumpling the paper and then flattening it back out, you create tiny ridges and valleys. This allows hot air to circulate underneath the cucumber slices, preventing them from sticking and ensuring the edges curl upward into that desired ruffled shape.
Large Rimmed Baking Sheets: You will need at least two. The biggest mistake in making oven baked cucumber chips is overcrowding the pan. If the slices touch, they will steam instead of crisp, resulting in a rubbery texture.
Mastering the Method: Step-by-Step Culinary Instructions
Phase 1: Moisture Extraction and Prep
Begin by washing and thoroughly drying your English cucumbers. Using your mandoline, slice the cucumbers into paper-thin rounds. Place the slices in a single layer on a clean kitchen towel or several layers of paper towels.
Sprinkle a small portion of your sea salt over the slices and let them sit for 15 minutes. You will see beads of water forming on the surface. Blot them firmly with another towel. This “sweating” process is the secret to achieving a chip that snaps when broken in half.
Phase 2: The Seasoning and Glaze Application
In a large mixing bowl, whisk together the olive oil and 1 tablespoon (15ml) of the apple cider vinegar. Toss the dried cucumber slices gently in this mixture until every slice has a microscopic coating of oil. This is what creates the “light vinegar glaze shimmer” mentioned in our visual blueprint.
Preheat your oven to 225°F (107°C). We use a low temperature to slowly dehydrate the cucumber. High heat will burn the edges before the centers are dry. Arrange the slices on your prepared crumpled parchment paper, ensuring no two slices are touching.
Phase 3: The Slow Bake and Visual Cues
Slide the trays into the oven. Bake for approximately 90 to 120 minutes. At the 60-minute mark, use a pastry brush to lightly dab the remaining tablespoon of vinegar onto the chips. This reinforces the glaze and adds that final shimmer.
Watch for visual cues: the edges should begin to curl and turn a deep, toasted golden-brown. The centers will look thin and almost like stained glass. If you touch a chip and it feels “bendy,” it needs more time. A finished chip should feel stiff and brittle to the touch.
Expert Tips for the Perfect Crunch
- The Cooling Rule: Do not eat these straight out of the oven! As the chips cool, the residual sugars and fats solidify, creating the final “crunch.” Let them sit on the baking sheet for at least 10 minutes.
- Avoid the Center Rack: If using two trays, swap their positions halfway through. Ovens often have “hot spots” that can lead to uneven browning of your oven baked cucumber chips.
- Mandoline Safety: Always use the guard. Cucumber skins can be slippery, and the thinness required for these chips means the blade is very close to your fingers.
- Humidity Alert: On very humid days, cucumber chips will absorb moisture from the air quickly. If they lose their snap, pop them back into a 200°F (95°C) oven for 5 minutes to re-crisp.
Flavor Variations and Creative Pairings
Once you have mastered the base recipe, you can experiment with flavor profiles. For a zesty kick, add a dusting of ranch seasoning to create homemade ranch cucumber chips. The buttermilk powder in the ranch seasoning reacts beautifully with the low heat to create a creamy, savory crust.
If you enjoy a bit of heat, a sprinkle of cayenne pepper or chili lime seasoning works wonders. These chips also pair excellently as a light side dish for heavier proteins. Try serving them alongside savory pork chops to provide a refreshing, acidic contrast to the rich meat. They also make a fantastic gluten-free “cracker” for cheese-based appetizers or crispy feta rolls.
Maintaining the Snap: Storage and Longevity
Because these chips are dehydrated, they are sensitive to moisture. Store them in an airtight glass jar or a vacuum-sealed bag. Avoid plastic containers if possible, as they can sometimes breathe, leading to “stale” chips within 24 hours.
In an airtight environment at room temperature, these chips will stay brittle for 3-5 days. Do not refrigerate them, as the condensation inside the fridge will immediately turn them soft. If you are preparing a large batch for a party, wait until the very last moment to place them in the serving bowl.
Frequently Asked Questions
Yes, but you must work in very small batches. Air fry them at 250°F (120°C) for 20-30 minutes, shaking the basket frequently. However, the oven method is better for achieving the specific ruffled, brittle edges seen here.
No peeling is necessary, especially with English cucumbers. The skin provides structural integrity and adds a beautiful dark green contrast to the golden-brown toasted edges.
In a perfect airtight container at room temperature, they remain crispy for 3-5 days. If they soften, a quick 5-minute ‘flash bake’ at 200°F (95°C) will restore their brittle texture.
English (or Hot House) cucumbers are best because they have very small seeds and a thin skin. Standard garden cucumbers have high water and seed content, which can cause the chips to fall apart during dehydration.
Soggy chips usually result from skipped moisture extraction. You must salt the raw slices and blot away the water before baking. Additionally, ensuring the oven is at a low temperature for a longer duration is key to full dehydration.
The Definitive Oven Baked Cucumber Chips Recipe

Oven Baked Cucumber Chips: The Ultimate Crispy Salt and Vinegar Snack
Ingredients
Equipment
Method
- Using a mandoline, slice cucumbers to 1/16th inch (1.5mm). Lay slices on paper towels, sprinkle with a pinch of salt, and let sit for 15 minutes. Blot away all visible moisture.
- Preheat oven to 225°F (107°C). In a bowl, toss cucumber slices with olive oil and 1 tbsp of apple cider vinegar until evenly coated.
- Place slices in a single layer on crumpled parchment-lined baking sheets. Bake for 60 minutes.
- Brush the remaining 1 tbsp of vinegar onto the chips. Continue baking for another 30-50 minutes until edges are ruffled and golden-brown and centers are translucent and brittle.
Notes
Check frequently in the last 20 minutes as thin slices can brown quickly.
Conclusion: A Guilt-Free Gourmet Snack
The beauty of oven baked cucumber chips lies in their simplicity and the dramatic change they undergo in the oven. From a crisp, watery vegetable to a brittle, savory shard of flavor, they represent the best of healthy snacking. They are a testament to how proper technique—like moisture extraction and low-temperature roasting—can elevate basic ingredients into something extraordinary.
We invite you to share your results! Did your chips get those perfect ruffled edges? Did you try a unique seasoning blend? Leave a comment below and let us know. For more snack inspiration and visually stunning recipes, be sure to follow us on Pinterest and join our community of home cooks dedicated to culinary excellence.
Whether you’re serving these at your next gathering or enjoying them as a quiet afternoon snack, the “snap” of a perfectly baked cucumber chip is a reward in itself. Happy baking!